How to Set Colors and Font Options with Puzzle Maker Pro
This tutorial shows how to use the Color Selection options and the Font Options in Puzzle Maker Pro. The Font options are not yet available for every single module at the moment of writing.
Color Selection
In Puzzle Maker Pro you can set the canvas, line and font color for most puzzles using a little rectangle, like the one shown here:
 The rectangle shows the currently selected color, and by clicking on it, you'll see the Color Selection Dialog:
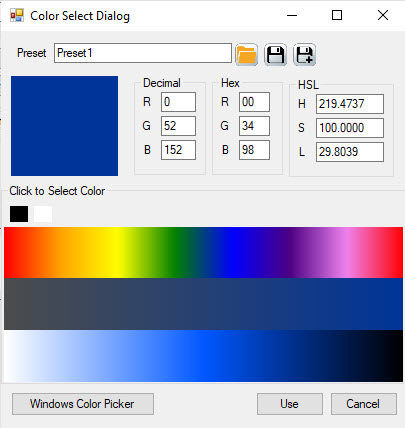
You can set the color in several ways:
- Add the color RGB code in either decimal or hexadecimal numbers. This allows you to match the colors exactly to other illustrations or style options
- Add or edit the color by setting the HSL numbers (Hue, Saturation, Lightness)
- Click the rainbow panel (or the black or the white panel on top of it). Clicking the rainbow panel will change the two panels below it to match the selected color
- Click the Saturation panel. This is the middle panel, which shows colors from totally gray (unsaturated) to bright blue (fully saturated)
- Click the Lumination panel. This is the bottom panel, and shows colors from white to blue to black
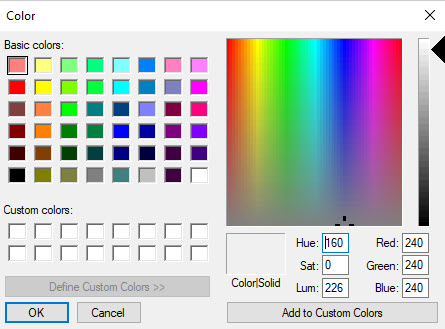
- You can also click the "Windows Color Picker" button, this allows you to use the standard Windows Color picker to select or edit colors
- Click "Use" to use the selected color.
Font Options
In most cases, whenever there's a font to be used in a puzzle, you'll see a font preview panel, that shows the current font, and allows you to select a different font:
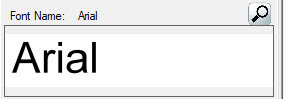
Clicking on the white area or on the looking glass button will display the Font Setup window:
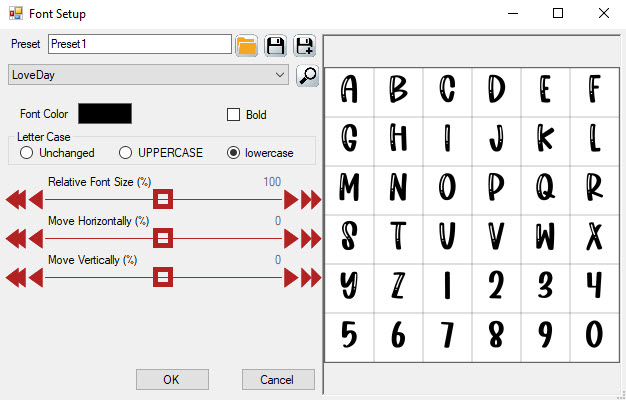
This window has several options. (Due to ongoing updates and additions, some options may not be used yet for certain puzzles. Please let me know (with a helpdesk ticket) whenever there's something that you need that doesn't work yet.
Changes will be immediately reflected in the preview panel at the right.
From top to bottom:
- Font Selection dropdown menu - you can select a font from the list, or use the built-in font browser to see previews of all the fonts, by clicking the looking glass button
- Font Color - set the color for the font, using the Color Selection Dialog
- Bold - May set the font type to Bold
- Letter Case - This will let the letters unchanged, or force Uppercase or Lowercase use in the puzzle
- Relative Font Size - By default the font will be sized proportionally to the squares or shapes in the puzzle, leaving enough margin at the top, bottom and sides. However, you can use this slider to make the font larger or smaller
- Move Horizontally / Vertically - Allows you to position the letters in the squares. You may need this when changing from lowercase to uppercase (uppercase letters are all positioned above the font baseline, which may look strange in a puzzle). Also, many free fonts are not scaled or aligned properly, and you can use these settings to correct that
Built-in Font Browser
In most Puzzle Maker Pro modules (except the oldest ones), you can also use the built-in Font Browser to preview and select a font.
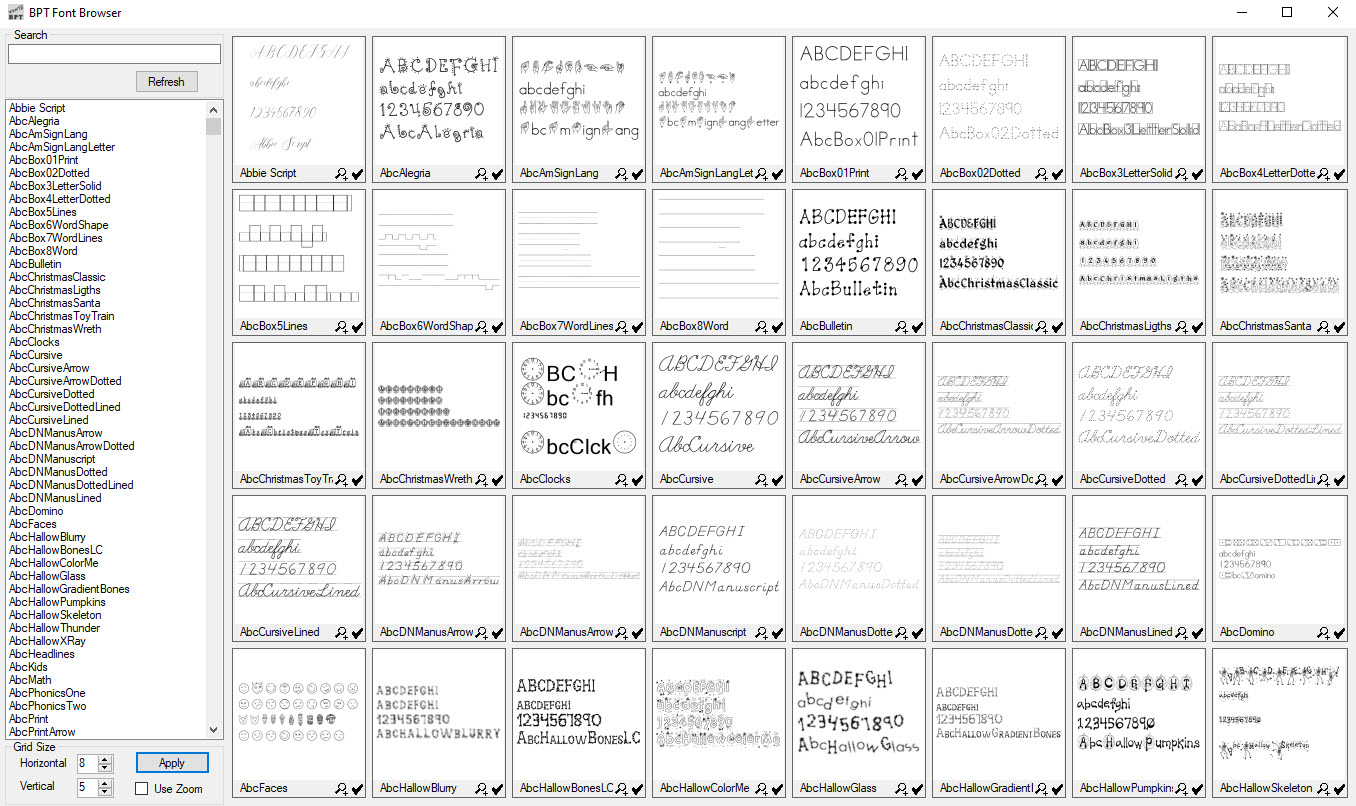
Here you can see a number of fonts at once. You can:
- Use the Search field to type a part of a font name
- Use the font list at the left, and the scroll bar, to quickly move around in the list of fonts
- Use the grid Size options at the lower left to change how many fonts are shown in the grid at the right
- Use the little looking glass icon for each font to open a larger zoomable preview of the font
- Use the little check mark for a font to select and use that font
Note: The Font Browser is also available as a separate purchase, which doesn't require Puzzle Maker Pro