How can I quickly set up a layout with the Journal Filler Plugin for Powerpoint?
This tutorial shows you how to quickly create a tight layout in Powerpoint using the Journal Filler Plugin for Powerpoint.
As you know, each 'page' in Powerpoint is called a slide. That's the terminology we will use in this tutorial.
Overview
The Journal Filler Plugin for Powerpoint will save you time with two different options:
- Quickly fill a shape with lines, squares or dots (see: Lines, squares or dots)
- Add new shapes to set up a layout quickly (this tutorial)
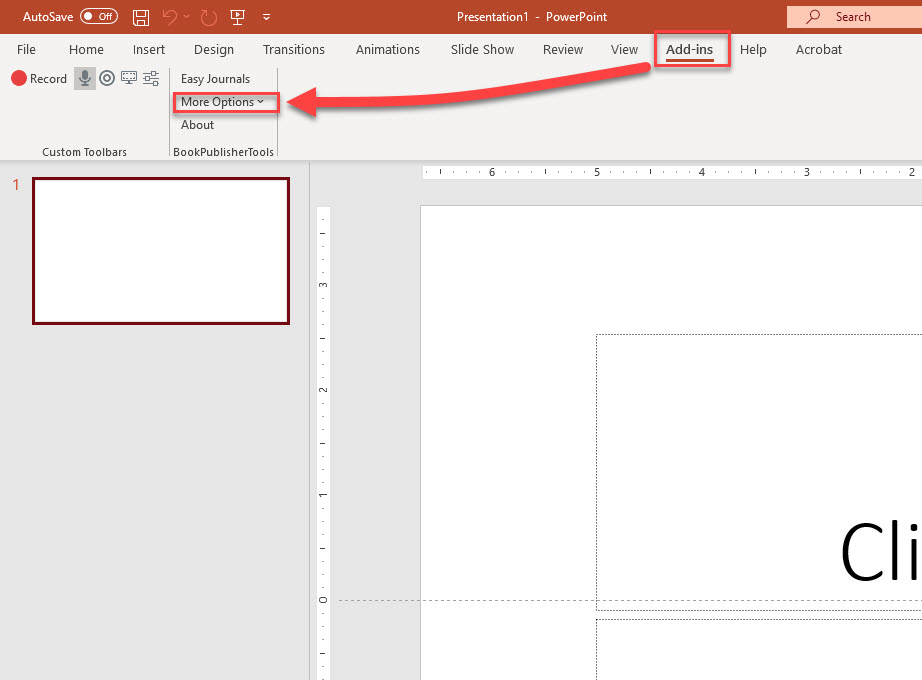
To use the Journal Filler Plugin, click on the "Add-ins" option in the Powerpoint menu. This will open the Add-in ribbon, that includes the "BookPublisherTools" options. In the "More Options" menu you can find "Journal Filler". This will open a new side panel in Powerpoint.
There are two ways to add new shapes on a slide (or on several slides)
- Add shapes on a blank slide - this will create new shapes with black/white colors only
- Set up a shape on your page, and use that as a template for new shapes.
Add shapes on a blank slide
An easy way to get started with your journal or planner layout, is by adding a basic layout on a blank slide. With a blank slide we mean a slide that does not yet contain any shapes or other things.
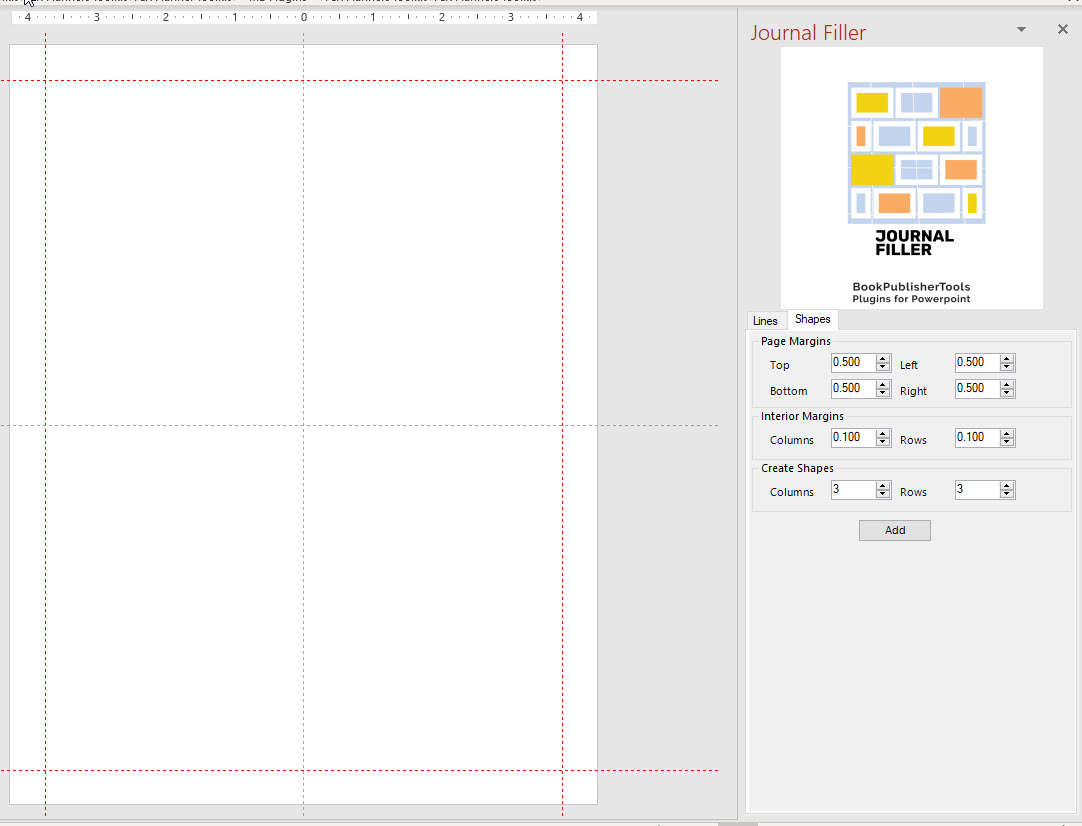
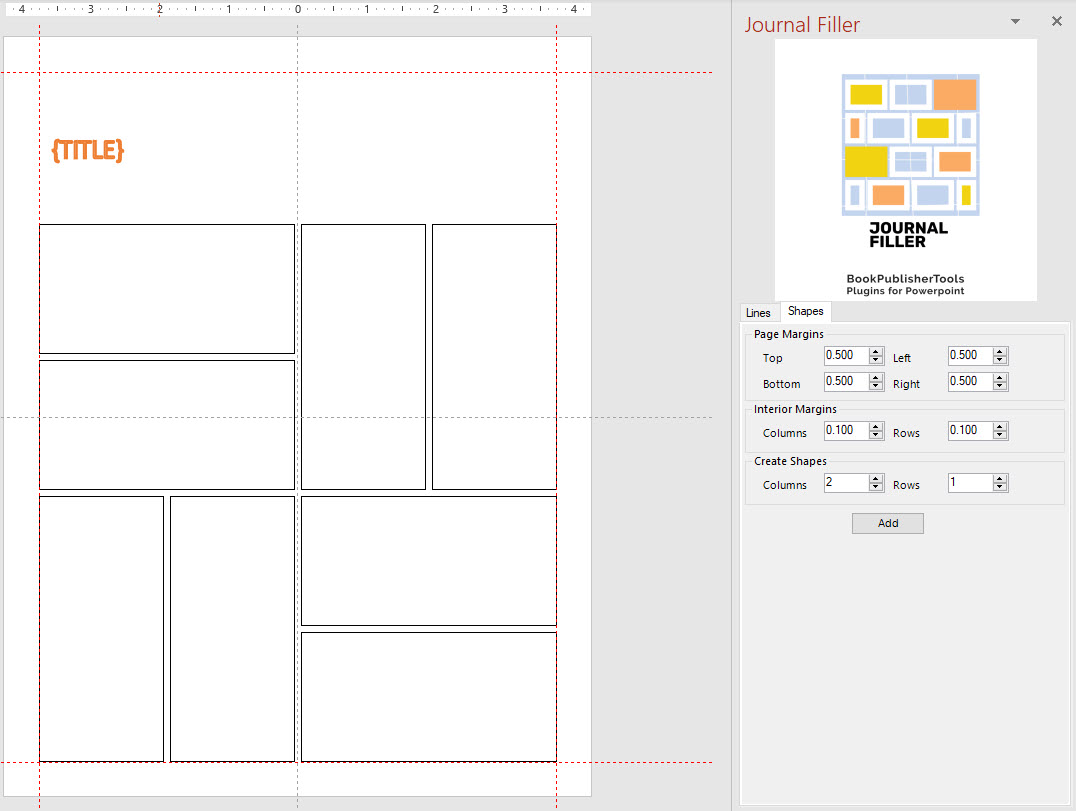
As you can see in the screenshot, we've used Easy Journals to set up an 8.5"x11" page layout, and to add guides for the 0.5" margins. (These guides are not required for Journal Filler.)
At the right you see the Journal Filler plugin, where the "Shapes" tab is selected. Here you can:
- Set outer margins, that you don't want covered with shapes. You can set this to 0 (zero), to 0.5" for KDP margins, or to larger sizes to create a specific layout. For example to keep the top half of the page empty.
- Set Interior Margins, the margins between your shapes. You can specify the horizontal distance between columns, and the vertical distance between rows
- Set the number of rows and columns.
In the example we create 3 columns x 3 rows, with 0.1" margin between the rows and columns, and 0.5" margins on the outer borders. This will result in a new layout like this:
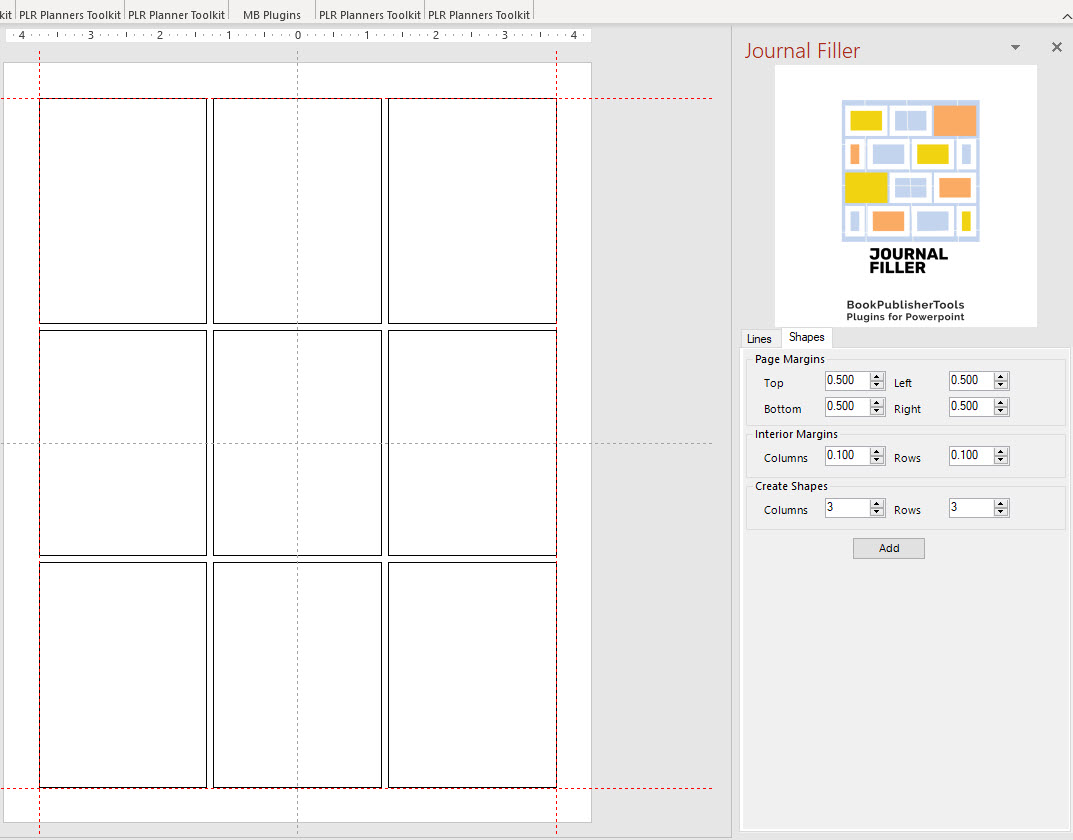
When you create shapes on a blank slide, the shape fill color is white, the border line will be black, and the font color is black as well.
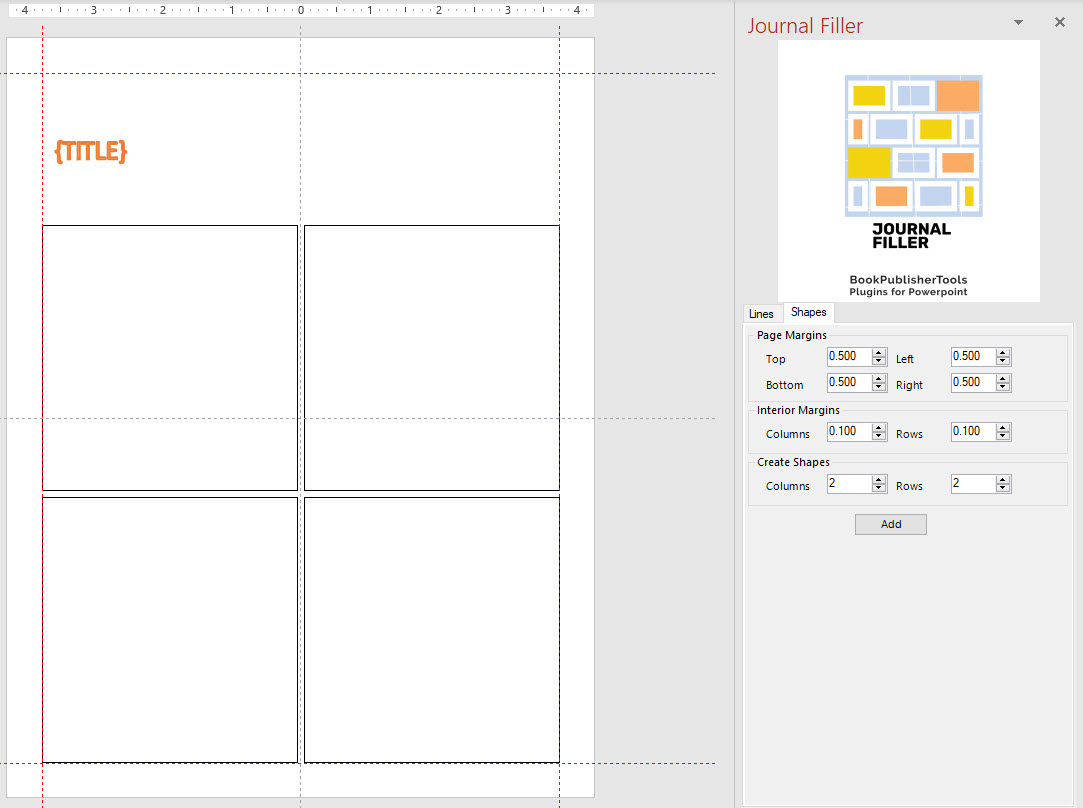
You can also use custom colors and font settings for your shapes, by starting from a 'template' shape:
#Add shapes from a 'template' shape Sometimes you don't want to fill the entire slide with new shapes (rectangles), but you may just want to add some rows or columns at the bottom of the slide, or on a different location.
Or... you may want to use specific color settings - a rose gold background with a purple script font and green borders.
Journal Filler will let you replicate (copy) the shape you create with the exact same settings.
Step 1 - Set up the shape format, position and size
First you add a shape to your slide. For journals and planners you'll probably use squares, but you can use stars, arrows, etc as well.
You can change the colors, font style and font color as you wish. In the screenshot below we just used a white background with black borders:
To be honest, these four squares have been created from a larger square.
Step 2 - Set up the number of shapes you want
Journal Filler will create the specified number of shapes in the place of the selected shape. If you set the number of rows and columns both to 2, you will end up with 4 shapes, each approximately 50% of the height and width of the original shape. (It will apply the Interior Margins you set).
Step 3 - Add the new shapes
Now you can select the shapes you want to use as templates (1 or more) and click "Add" to add the new shapes.
In this screenshot you can see the result after:
- Selecting the top left and bottom right squares, and selecting 1 column and 2 rows, then clicking 'Add'
- Selecting the top right and bottom left squares, and selecting 2 columns and 1 rows, then clicking 'Add'
Using Ctrl-Z you can undo all the changes made by the plugin.
Step 4 - Customize and embellish
After you've created this basic layout, you can manually change, resize and edit the shapes any way you want. These are 'just' Powerpoint shapes.