How can I quickly set up lines, squares or dots for my journal using Journal Filler Plugin for Powerpoint?
This tutorial will show you how to quickly fill a shape in Powerpoint with lines, dots or squares.
As you know, each 'page' in Powerpoint is called a slide. That's the terminology we will use in this tutorial.
Overview
The Journal Filler Plugin for Powerpoint will save you time with two different options:
- Quickly fill a shape with lines, squares or dots (this tutorial)
- Add new shapes to set up a layout quickly (see: Layouts with Journal Filler)
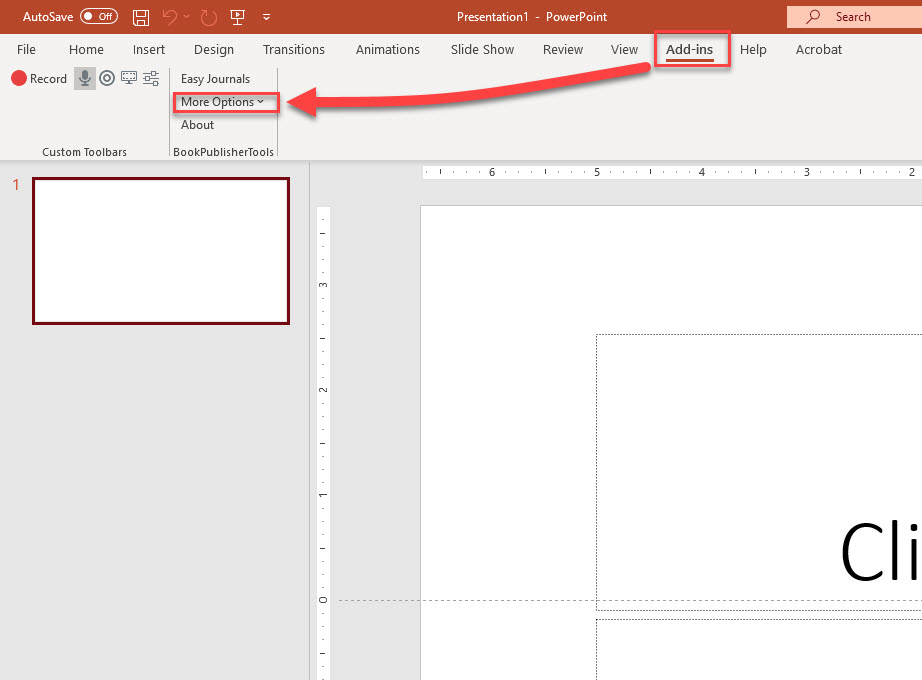
To use the Journal Filler Plugin, click on the "Add-ins" option in the Powerpoint menu. This will open the Add-in ribbon, that includes the "BookPublisherTools" options. In the "More Options" menu you can find "Journal Filler". This will open a new side panel in Powerpoint.
Add lines to a shape with Journal Filler
Adding lines, squares, dots or little plusses to shapes is straightforward:
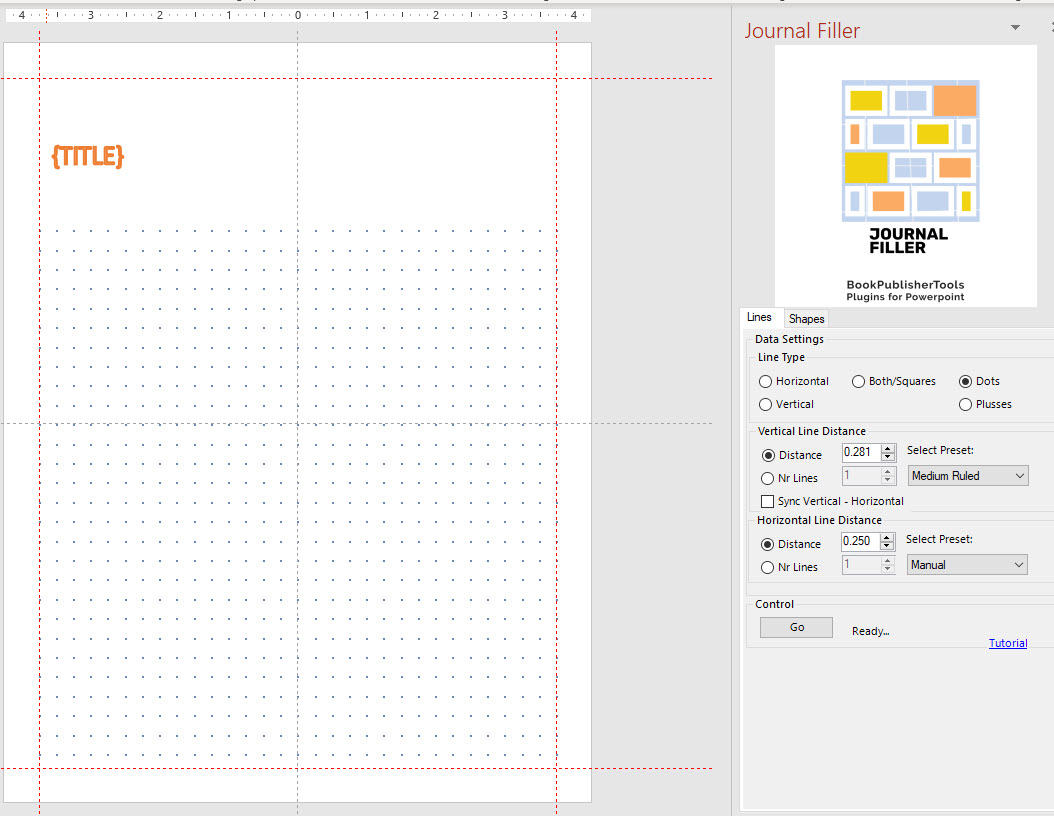
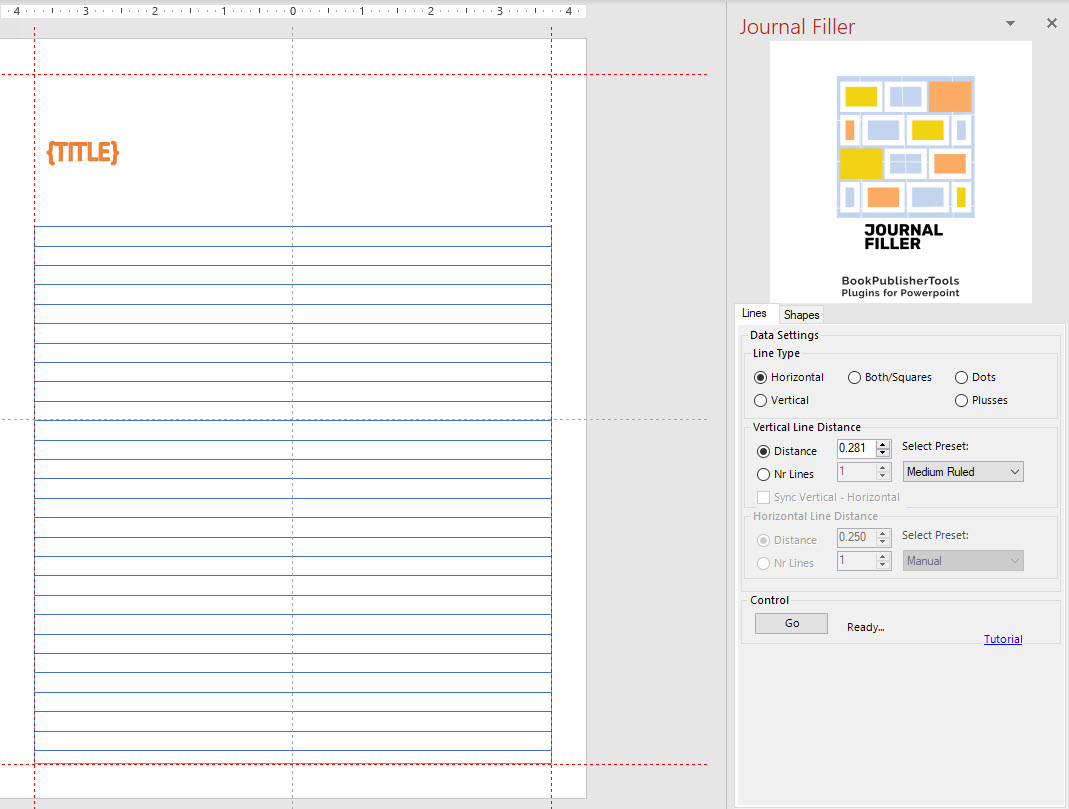
First, make sure you're looking at the "Lines" tab in Journal Filler.
Choose the fill option you need:
- Horizontal lines
- Vertical lines
- Both (horizontal and vertical lines), resulting in squares or rectangles
- Dots
- Plusses
Depending on your selection, you'll need to set the Vertical and/or the Horizontal distance between the lines or dots. You can choose to either:
- Set a fixed distance between the lines or dots (in inches)
- Set the number of lines you want, e.g. 5 lines. The plugin will calculate the line distance for you when you click 'Go'
There are some presets for the line distance, such as medium ruled, wide ruled, 5 per inch, etc.
Once you're done, select one or more shapes that need to be filled, and click "Go".