How do I create journals with Easy Journals?
Easy Journals
Easy Journals is a plugin for Powerpoint - it requires MS Windows and MS Powerpoint to be installed on your computer. It doesn't work with the cloud version of MS Office / Powerpoint.
If you haven't installed the plugin yet, you should do that first. There's a tutorial for downloading and installing the plugin here.
Applications
This plugin doesn't just create journals, you can use it for many other mix and merge applications, such as simple memes that consist of a text quote and a background image. Wherever you see 'journal' in this tutorial, you can replace it other products if that works better for you.
If you create journals, you could create a guided journal, or a journal with writing prompts, by setting up a text file with the text for each page and then use the plugin. If you want a small illustration at the top or bottom of each page, that's different on each page, you can select the list of images as well, before using the plugin.
You can even create coloring books this way, by adding a (large) placeholder for images on each page, and then use the plugin. This way all the images will be placed at the exact same location. (However, if the dimensions of the images are different, they may appear stretched).
It's very easy to do a test run, although it's best to use a limited text file (just 2 or 3 words or phrases). That way you can see the results, and use Ctrl-Z to quickly remove the new slides. (Using the plugin counts as a single action for Powerpoint, so you only need to press Ctrl-Z once, even if you have 100's of new slides).
Using Text and/or Images
With Easy Journals you can use text and/or images to quickly generate a journal.
You can use text, images, or both. The plugin will copy your 'template' slide, and replace the placeholders with words from your text file and/or images from the list of images you selected.
Click "Text File" to select the text file you want to use. This file should contain each word (or phrase) on a separate line. Click "Image Files" to select image files on your computer. Using Ctrl and Shift you can select multiple files at once. When you click 'OK', the Files will be used for your journal.
You can choose the codes that need to be replaced. By default these are set to "{TEXT}" and "{IMAGE}". You can use all the Powerpoint styling options for the text, these will be applied to the new text as well. Images will be added as a 'fill' for the shape containing the code "{IMAGE}".
This screenshot illustrates how it works. Please don't be offended by the lack of content and styling, it's just showing the mechanics.
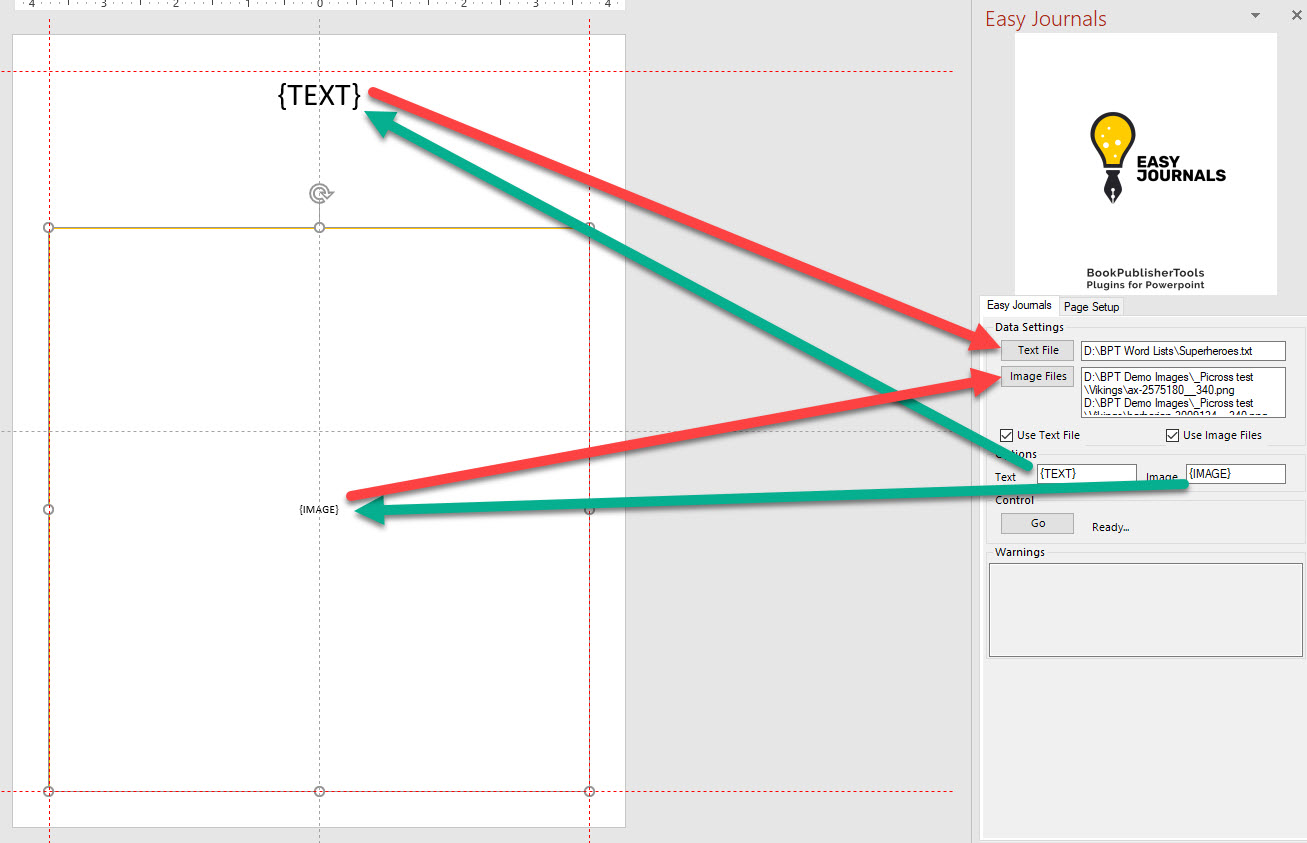
The green arrows show how the codes are configured and added to the page.
The red arrows show how to set the content that will replace the codes.
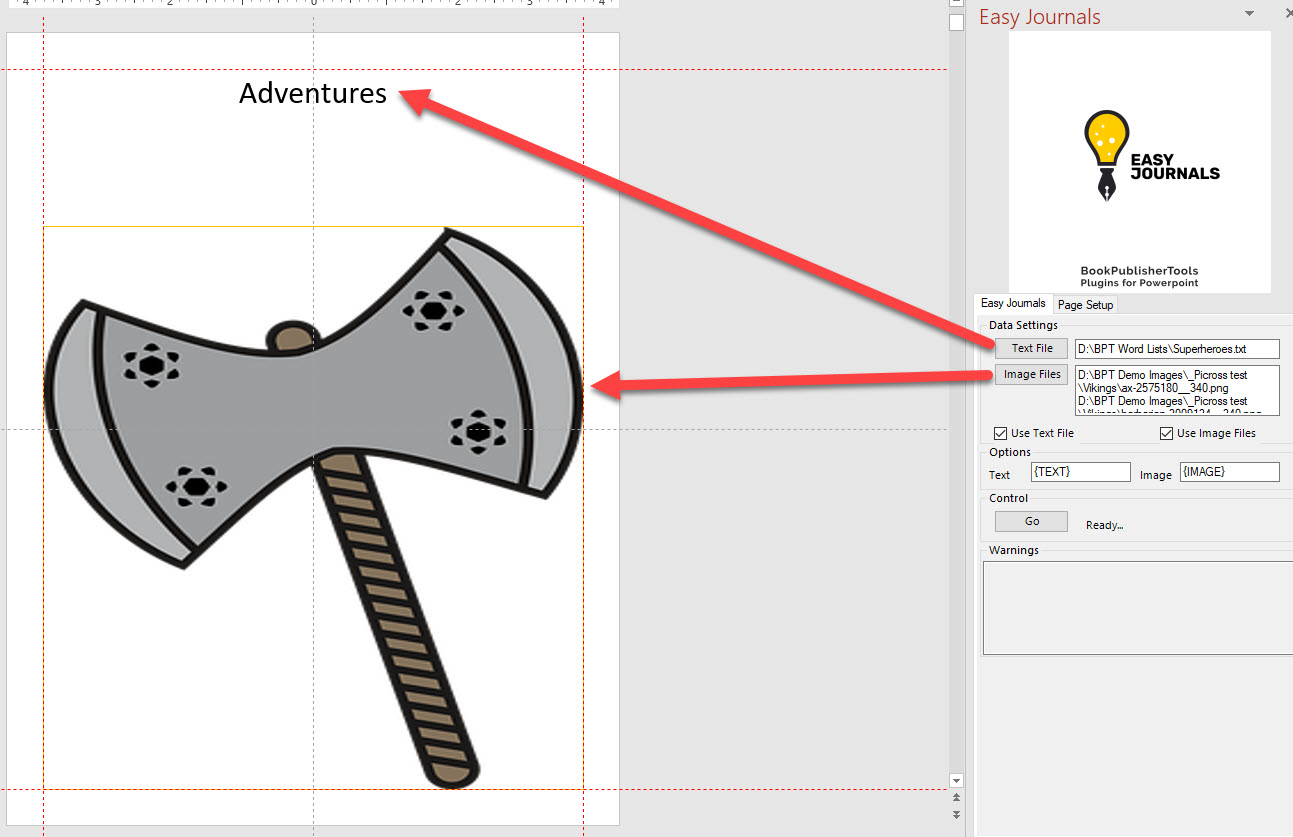
After using the plugin (click "Go") the output could look like this:
Reminder: You will need to remove the template slide before uploading your journal to KDP or Etsy.
Page Setup with Easy Journals
There's one other (free) feature in Easy Journals: You can quickly set up the page format you need and add guides to indicate the margins.
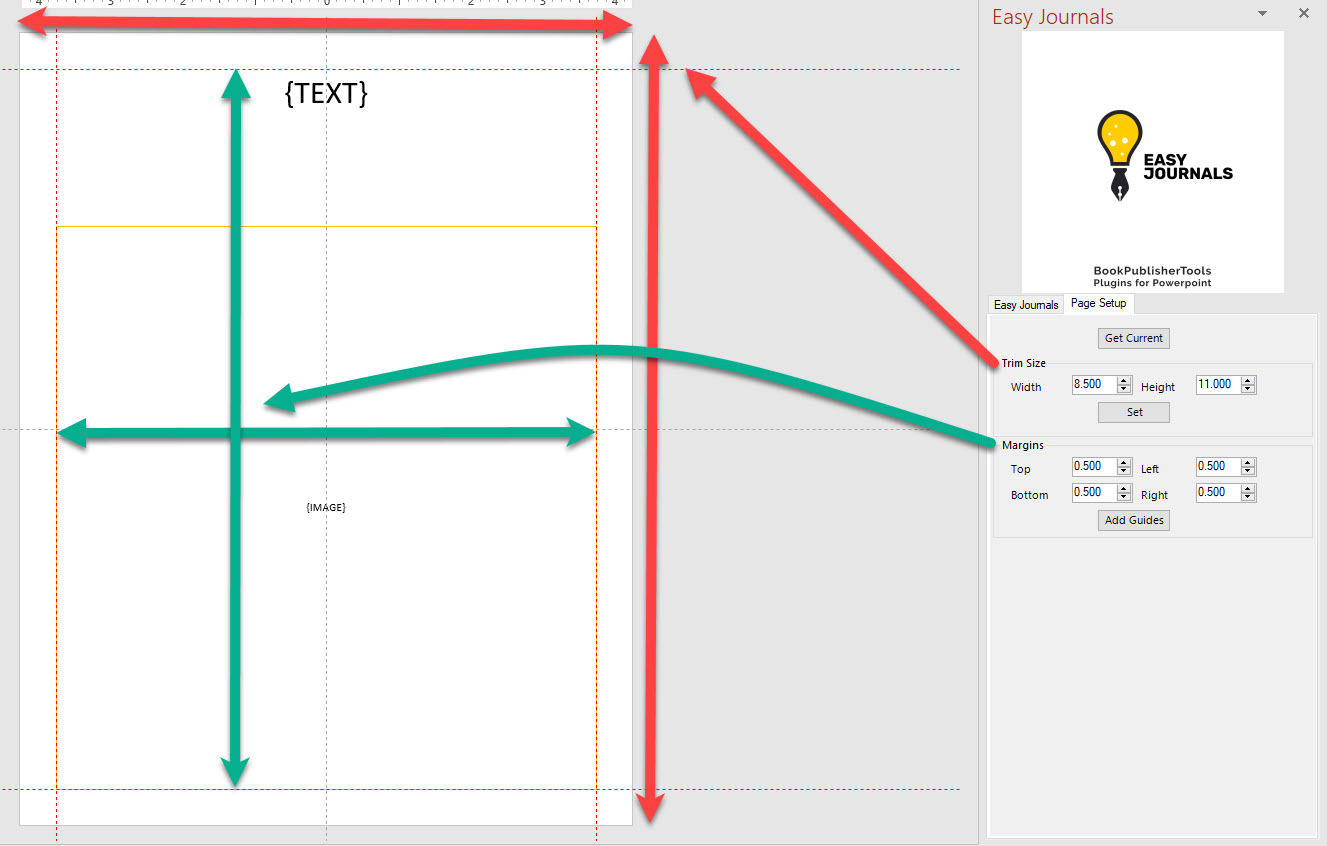
Using the button 'Get Current' it will retrieve the current settings from Powerpoint. These will be translated from the internal Powerpoint format (72 points per inch) to inches.
You can change the format to e.g. 8.5" by 11". Once you click "Set", the page (slide) format will be changed.
Powerpoint does not work with margins, because it's an app to create presentations, not books. However, you can easily use guides to help you out here: Just set the margins the way you want to and click "Add Guides". This will add four red guides - top, bottom, left, right.
It will also remove other red guides: Because the plugin doesn't know which guides were set as 'margins', it uses the color red for this purpose. Guides in other colors will not be affected.