How do I use the advanced and edit tabs of Puzzle Maker Nonogram
This tutorial shows how to use the advanced and edit tabs of Puzzle Maker Nonogram Complete.
This tutorial applies to:
(The advanced and edit tabs are not available in Puzzle Maker Nonogram Standard.)
Contents
- Introduction
- Advanced Options
- Edit Options
- Further Reading
Introduction
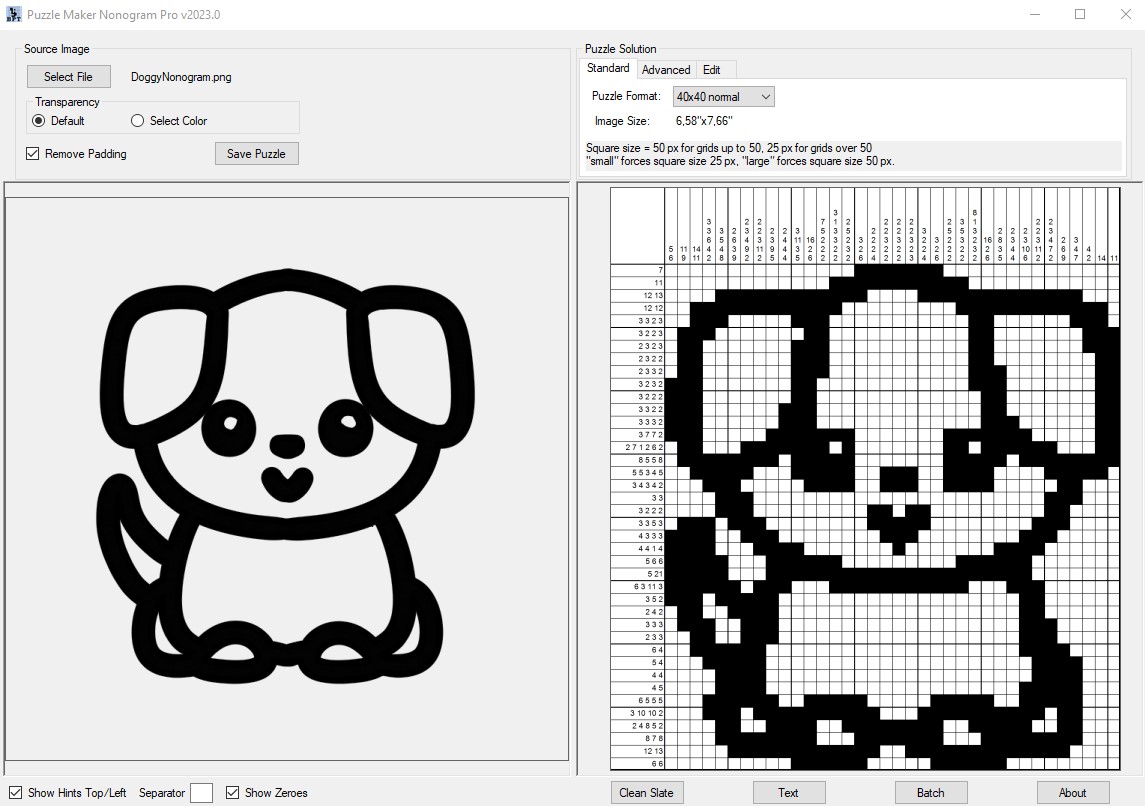
In the getting started tutorial, we discussed easy ways to quickly make a nonogram puzzle. In this tutorial, we'll be looking into how to edit your nonogram to make it fit your requirements.
Advanced Options
For this tutorial we're using the same reference as before, but you're free to pick another image if you want. The first thing we can do is go to the Advanced Tab.
Here you'll see multiple options.
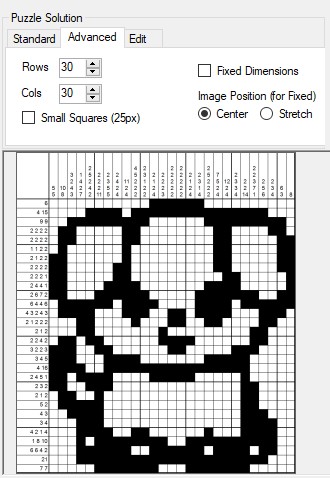
First of all, you can manually change the amount of rows and columns (cols) for the puzzle.
Below that, is a checkbox for small squares. This is great if you have large nonograms, so they can still fit on a page without you having to resize.
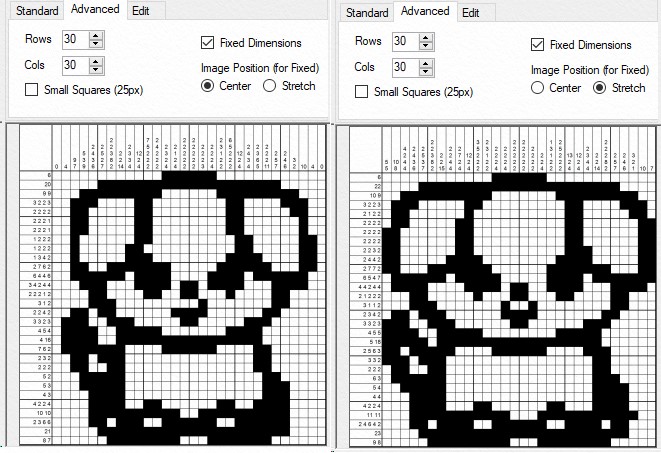
There's also the option for fixed dimensions. Let's select this option. This option will force the amount of rows and columns you have selected earlier. For this example, we have it at 30 rows, and 30 columns. We can also change this option for a bigger or smaller puzzle. Say you have a rectangular image, then maybe you want to change it to 30 by 40.
Below the fixed dimensions checkbox is also the choice for the image position. If you select center, additional empty rows will be created. If you select stretch, the image will get stretched so it fills in the puzzle properly. Below you can see the results for both options.
This can lead to some very funny results if you force a square puzzle into a rectangular box, or the other way around. An example below.
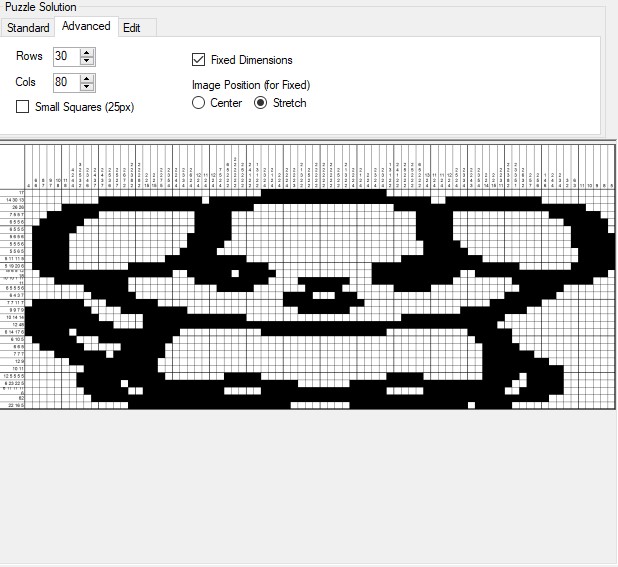
Since this isn't the result we want, no matter how funny it can be, let's reset to 30 by 30, and stretched position.
Edit Options
Time to go to the Edit tab to see what we can do for our puppy here.
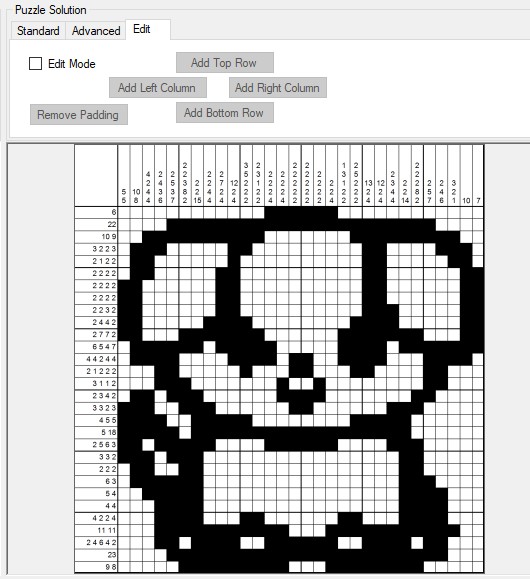
Right now, we can't do much. But once we select "Edit Mode", a world of possibilities opens up.
First, we can add rows and columns on basically every side of the puzzle. These rows and columns will be blank when we add them, and if you select "remove padding", all empty rows will be removed. It basically does the same as the "remove padding" on the left of the screen.
So why is it important that we can add and remove rows?
Because another possibility opened up when we selected Edit Mode.
We can now click on squares to add them to the puzzle, or remove them, to further finetune the result.
Try it yourself. Click on a square that is black, and it'll become white. The numbers in the rows and columns will also automatically be changed.
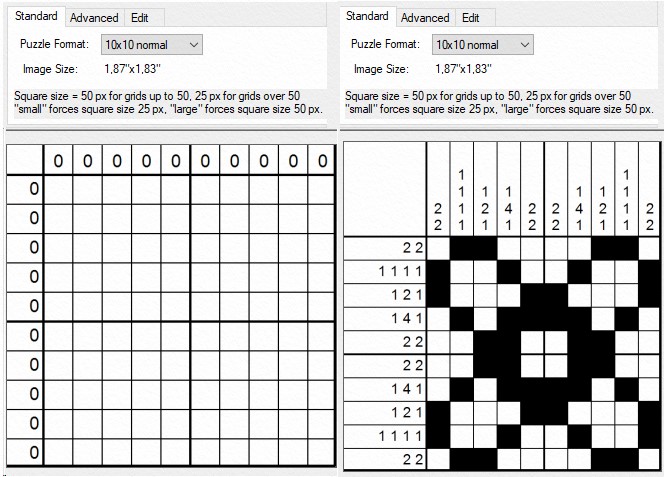
In the example above we opened a blank screen (essentially, we loaded a picture that had nothing on it), and manually clicked some tiles on to create a very rudimentary flower.
Now, Puzzle Maker Nonogram has no click and drag option to mass select squares, so it's probably best for your sanity if you work from a png, and don't try to create a massive nonogram by hand.
But this means we can finetune our nonogram more, to make it perfect for our purposes. One thing that is very unsatisfying about the nonogram we've been working with so far is the eyes. They aren't symmetrical and stand out a lot. So let's fix that first, and maybe change a few other small details too.
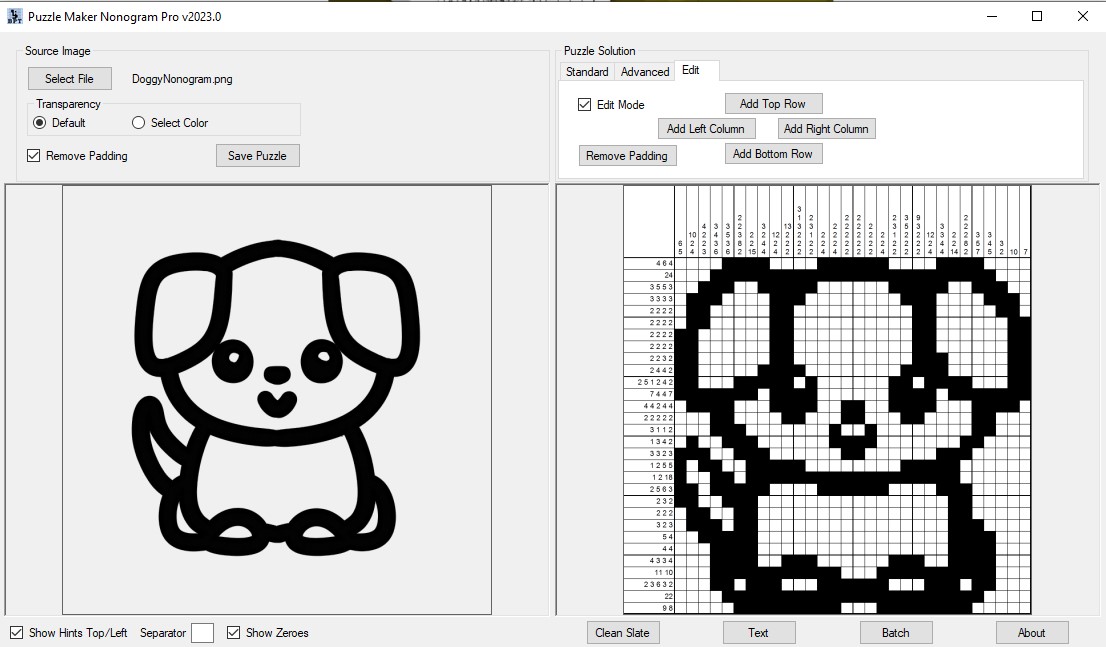
And there's the final appearance for our doggy. If we save the puzzle, both the puzzle and the solution get saved in the map we have selected.