Using Masks in POD Graphics Maker
POD Graphics Maker is a quick and easy way to make (mostly geometric) images with only a few presses of a button.
There are multiple modules available:
- Starter Bundle
- Expansion Pack 01
- Expansion Pack 02
- Expansion Pack 03
- Expansion Pack 04
- Image Mosaic
- Roman Mosaics
The patterns are inspired on Zentangle Style drawings, Mosaics, and Quilting.
If you've already seen our general getting started tutorial, you've seen we have looked into most functions that come with a standard pattern. Most of those are very much based on you just trying the pattern and settings, and seeing what works for you.
That's less so with the masks. You may want more control on how to set that up, so let's look into how that works.
Masks and Texts
There are two kinds of masks you can use with the Graphics Maker software. Three, actually, but they are hidden under two different tabs.
- text masks
- Graphic masks
Let's look over them.
Graphic Masks
We've set up a quick and easy pattern with 001, Tile Labyrinth. There is some fluidity, we've added bounding boxes, and some colours. Tips on how to do this are found in the Getting Started tutorial.
There are two ways to set up a graphics mask. One is very similar to masks in any other software from Bookpublishertools. You select a silhouette image and it becomes a mask.
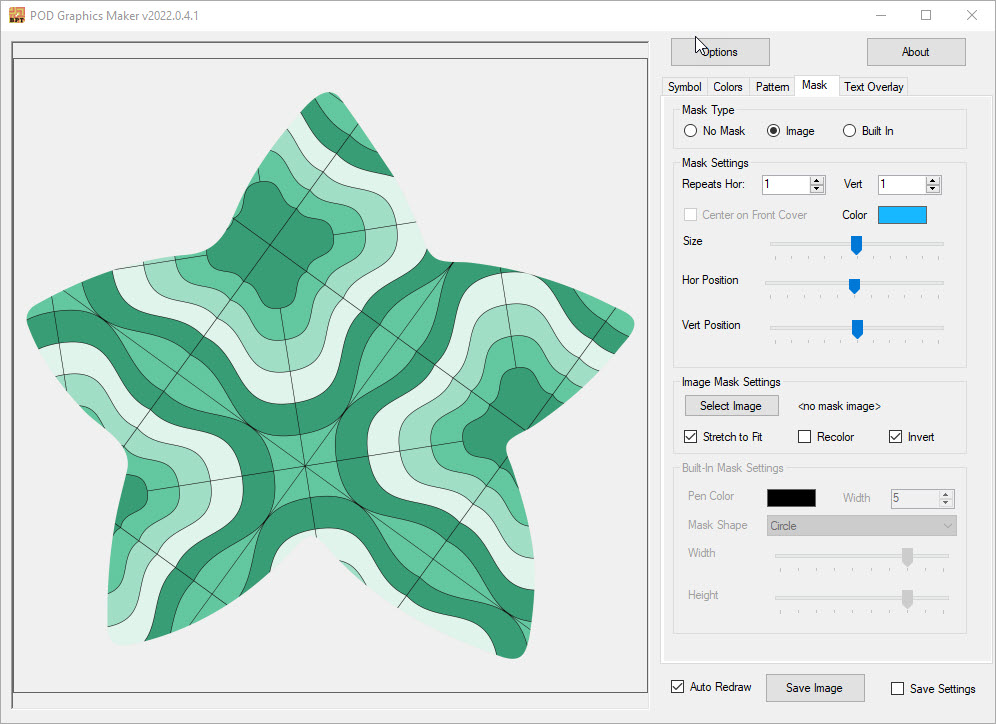
Image Masks
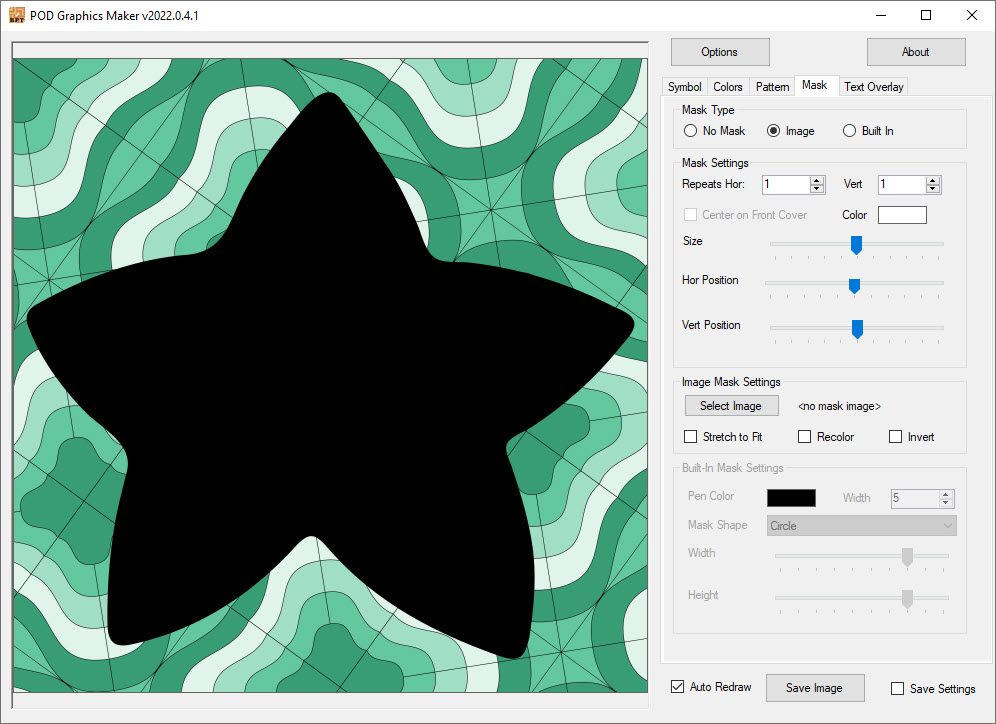
Now, it's also possible to change some settings here, such as inverting the image, recolouring the image to turn the masked image parts to white, and stretching.
Built-in Masks
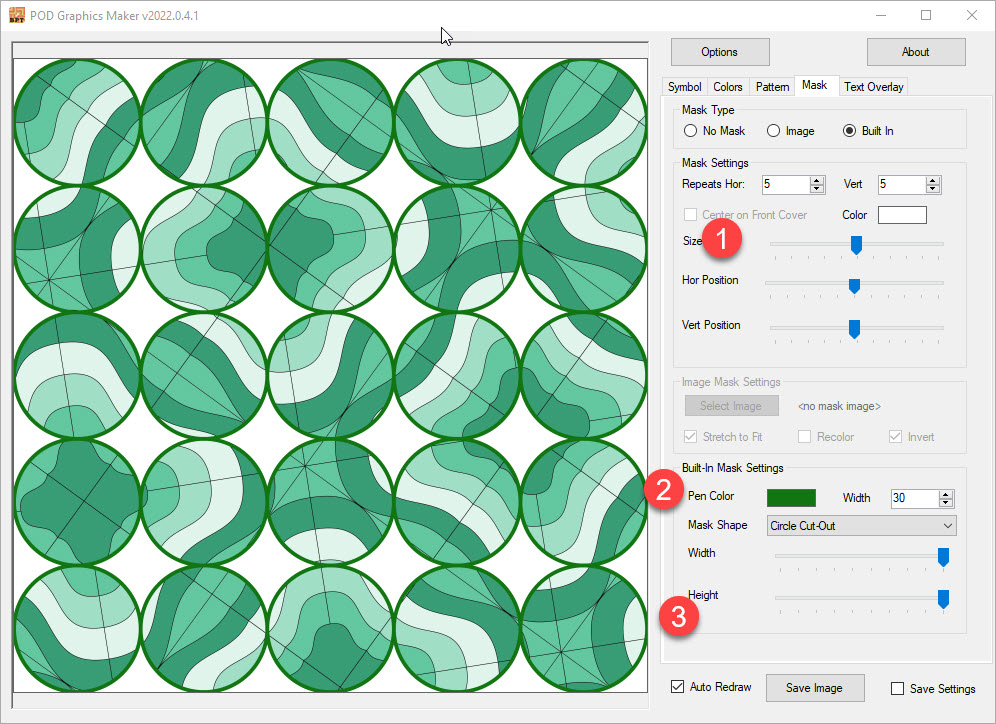
Now let's play with the other option, the Built In masks. These are unique to POD Graphics Maker, and while they are not quite as unique as custom PNG masks, you can still do some amazing things with these.
Pretty interesting, right?
Let's see what we had to do to get these results.
- Repeats horizontal and vertical. As you can tell we have both set to 5, for a total of 25 circles. You can also change the size, and their horizontal/vertical positioning.
- Pen colour and mask shape. We've set the pen colour to a dark green to go with our colours in the background. We've used a circle cut out, meaning that everything is greyed out except the 5x5 circles. There are multiple mask shapes that come with the software.
- Height and Width of the cutouts. We've put these both at maximum so they touch. If you want it even bigger, change the size at step 1, and you get overlap, which can look really good too.
And just like that, we've created a simple background with the built-in masks.
Text Masks
While you can combine Graphic masks and Text overlay masks, we're quickly turning off the graphic masks, so you can better see the results of the text overlay masks.
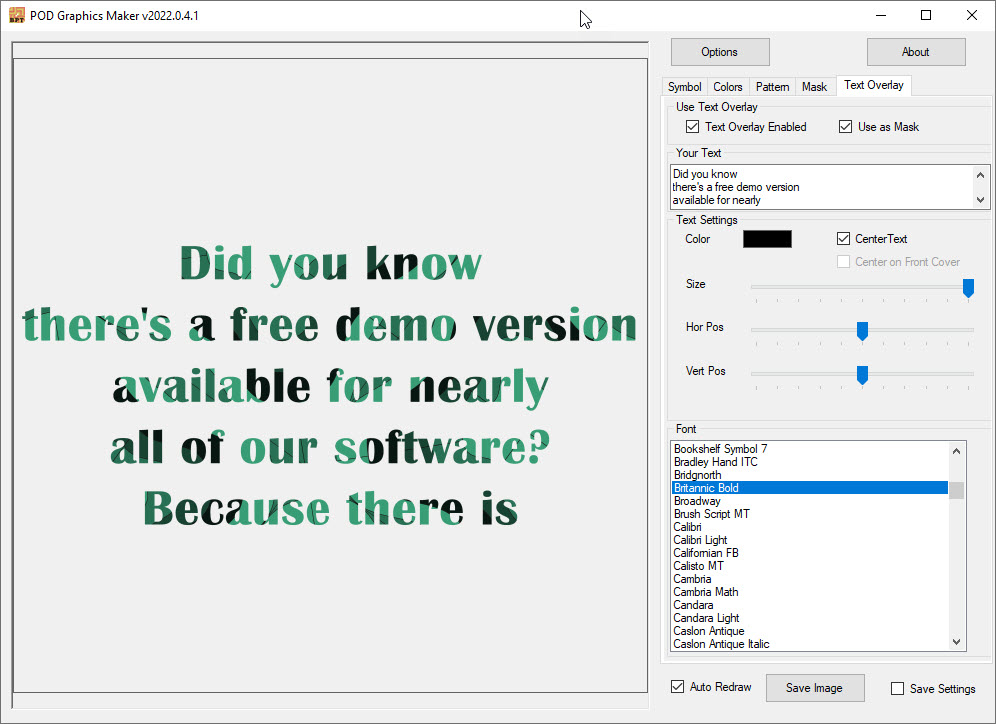
First of all, let's enable the Text Overlay. The standard word input is "LOVE".
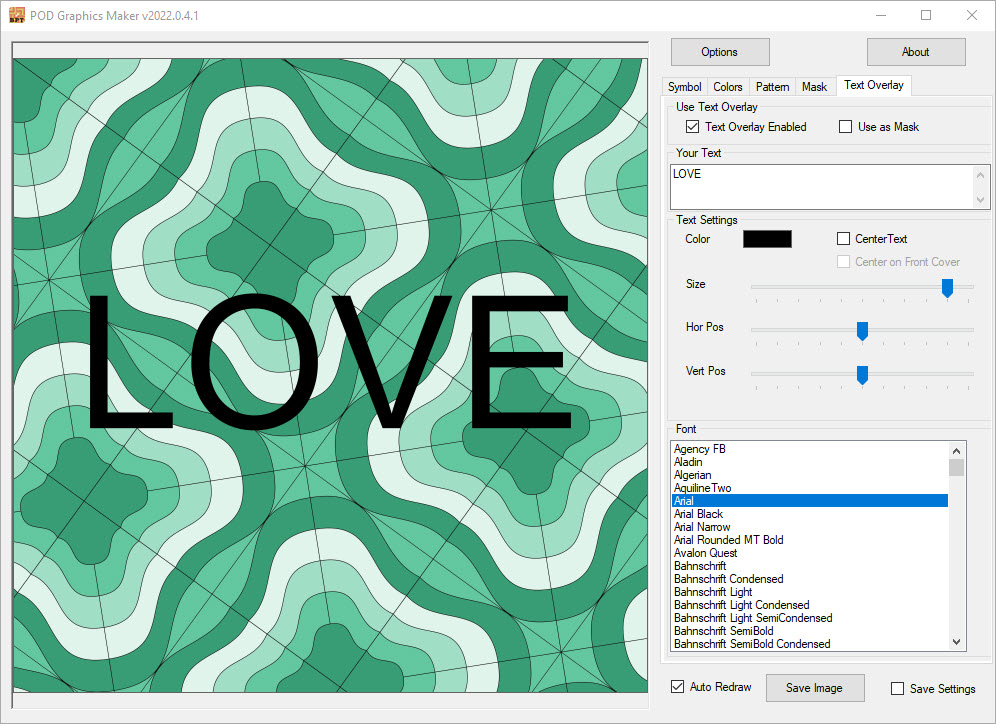
Great. Now let's try playing with the settings a bit to get something that looks better and can actually be used. You can change the text, center the text, change the colour of the text, or even use the text as a mask.
Interesting...
Now what we've done here is change the font to something Bold, changed the text, and selected the option to use the text as a mask. You can make the text as long as you want too.