How to create Cut and Color puzzles?
This tutorial shows how to create Cut and Color puzzles with Puzzle Maker Pro Cut and Color.
This tutorial applies to:
What are Cut and Color puzzles?
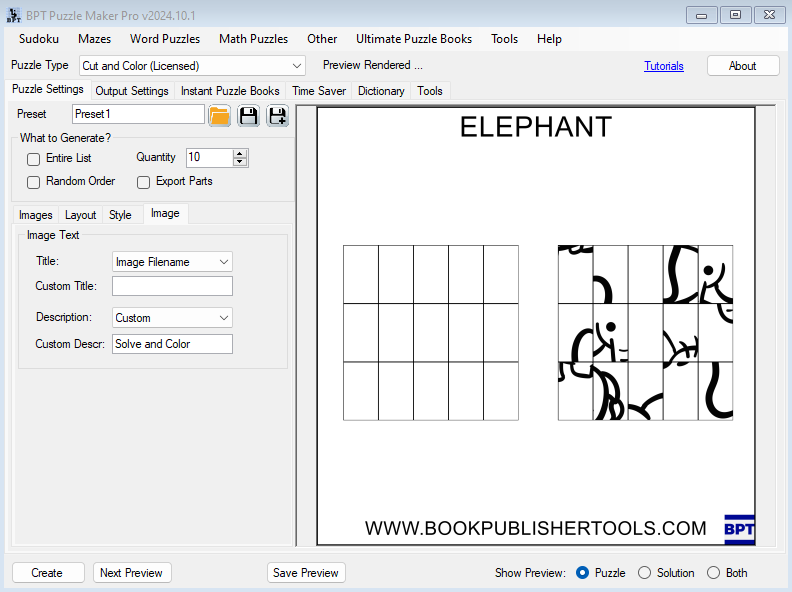
Cut and Color puzzles are a simple type of jigsaw puzzles that you can add to an activity book. Square or rectangular puzzle pieces can be cut out and placed on a grid to recover the original image.
These puzzle pieces can be colored before or after cutting them and positioning them. Or optionally the pieces can be glued on the grid, before coloring.
In a way, Cut and Color can be seen as a lightweight version of our JigSaw module, but it has some additional features as well.
Cut and Color overview
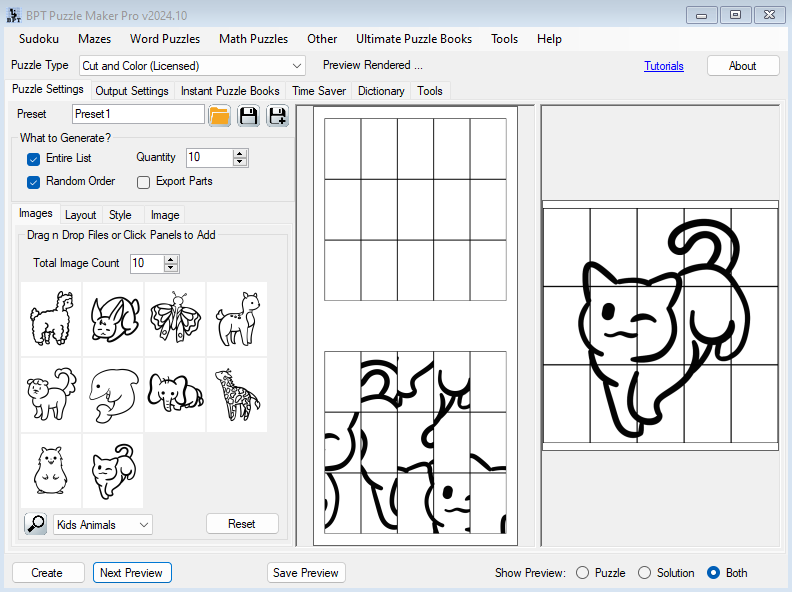
As you can see in this screenshot, you get a 'puzzle image' with the empty grid and scrambled puzzle pieces to cut out, and a 'solution image' that shows the correct placement of the puzzle pieces in the grid.
You can use your own images (this is preferable), and for testing the different settings, you can also use the preset images that are shown in the screenshot.
Selecting Images
The Images tab has a "Total Image Count" setting, this setting controls the number of images that are shown and that can be selected. To use even more than the maximum number that's available here, you can select unlimited images and entire image folders with the Time Saver add-on (along with more randomisation options).
To use your own images, you can either click the white image panels (that currently show the alpaca, the butterfly, etc) to select your images one by one, or you can use drag and drop to select many images at once. Just select the images in File Explorer, and drop them onto one of the image panels.
You can choose to use only a few images from the list (using the Quantity setting), or use the entire list. Additionally, you can randomise the order in which the puzzles are created, if you want to create multiple different puzzle books or printables.
Cut and Color Output
With our Cut and Color module you get several output options:
The regular Puzzle and Solution output, as shown in the screenshot in the Cut and Color overview. These consist of Puzzle Output - regular output with an empty grid and a scrambled / shuffled grid with puzzle pieces (in the screenshot below this is the image at the left, and Solution output - the original image, drawn in a grid. The puzzle and solution output is sized according to the settings on the "Output Settings" tab in Puzzle Maker Pro.
Additionally, you can also export the image parts: Scrambled Pieces, Empty Grid and Solution Grid. These will be saved as separate images in the Export folder. Just click the "Export Parts" option.
Cut and Color Layout
There are several options to customise the puzzle layout to your liking.
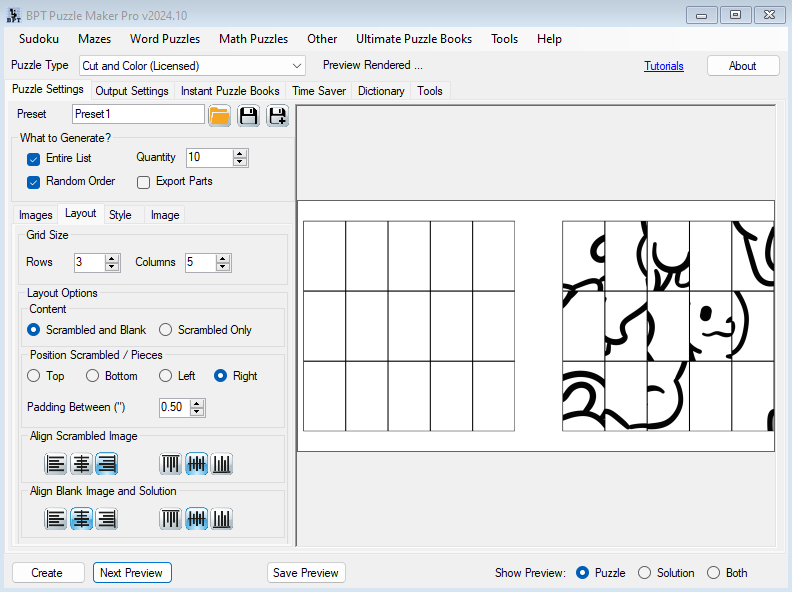
- You can choose to print only the scrambled image, or print both an empty grid (to place the pieces) and the scrambled image.
- You can position the scrambled image (the shuffled puzzle pieces) on any side of the empty grid, and set the padding between both images
- You can set the alignment for each of the parst in its designated area.
Furthermore, there are some options of the generic Puzzle Maker Pro Output Settings that can be very useful for Cut and Color pages
Output Settings
In Puzzle Maker Pro you have separate output settings for the actual puzzles and for the Instant Puzzle Books. (Our name for puzzle book output in PDF or Powerpoint format).
If you have the Time Saver add-on, you can print several puzzles on a page. Since the Cut and Color puzzles are printed in a highly rectangular shape, it makes sense to set a page layout of 2 rows and 1 column or 1 row with 2 columns, to create rectangular areas.
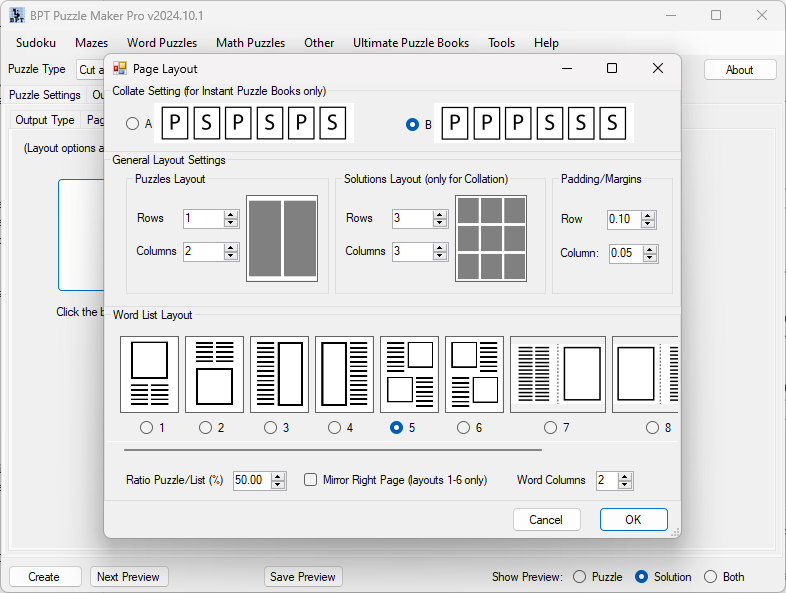
Without the Time Saver, you don't have this option, but using the trim size, and especially the margins, you can also control how and where the puzzle will be printed.
The magic happens when you use Dynamic Sizing. You can find this setting on the "Output Settings" tab in the "Puzzle Size" area:
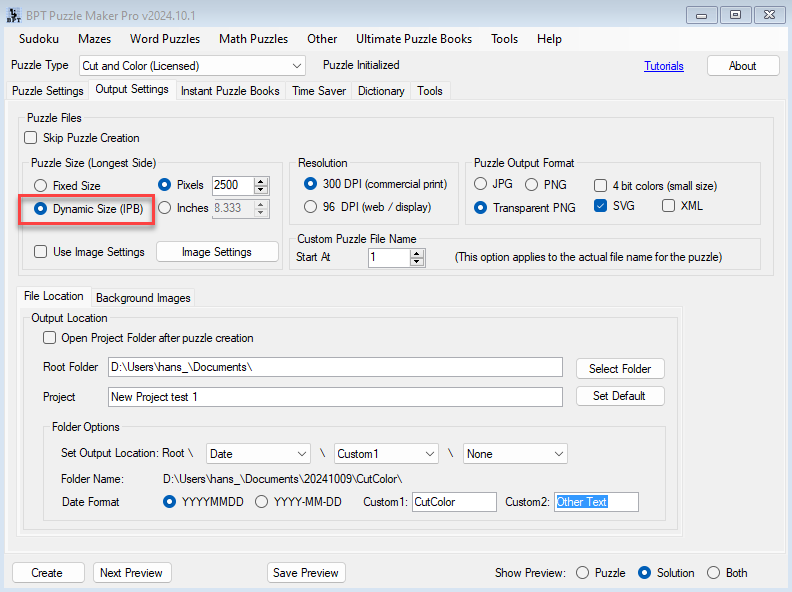
Instead of using a fixed size of say 1000 or 2500 pixels for each puzzle, it will use the area that's available for each puzzle in the page layout. In most screenshots in this tutorial we've used this option to get puzzle images that really fit the pages to which they are printed.
Cut and Color Image Output
Like most modules in Puzzle Maker Pro, you can also create social media images with a single mouse-click. You can set up your custom style and watermark just once, and then apply this style to images you create to promote your puzzle printables or books on social media.
