How do I use the Colors options for Puzzle Maker Pro - Geometric Mazes?
This overview explains the different Colors options for Puzzle Maker Pro - Geometric Mazes.
There are two different sets of options on the Colors tab:
- Colors for the canvas, floors, walls and solution
- Settings for the Start and End points.
Color Settings
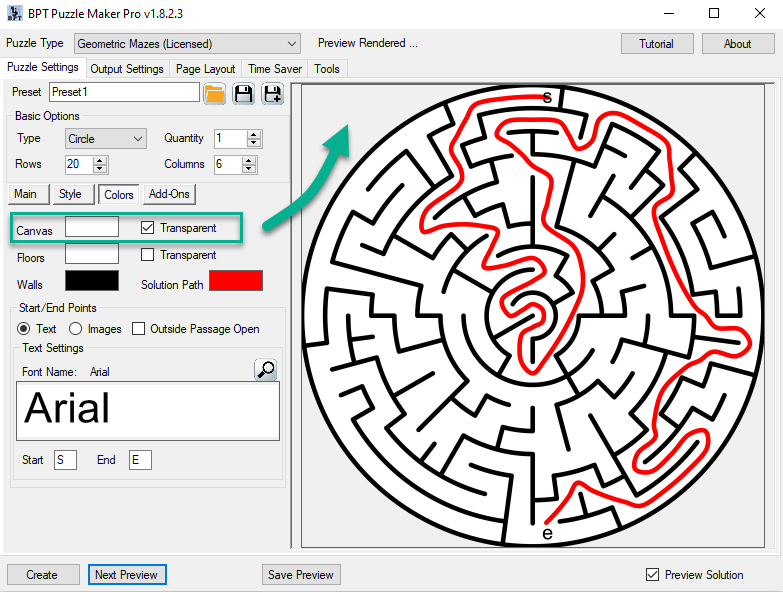
Canvas
The canvas is the background of the image, on which the maze will be drawn. For square or rectangular mazes this won't be visible. For other shape types, and with (future) add-ons like the Masks and the Crossings, it will have a major impact on your maze.
To create a Transparent canvas, as shown in the screenshot, you will need to select Transparent PNG is the file type (Output Settings --> Puzzle Files --> Puzzle Output Format). Otherwise the transparent background will be shown as black.
Floors
The floors, the contents of each cell in the maze, can be any color, or you can make them transparent. In which case the canvas color will be shown instead.
There is no limit to color combinations you can use. An example is the screenshot below, using black for the floors and white for the walls:
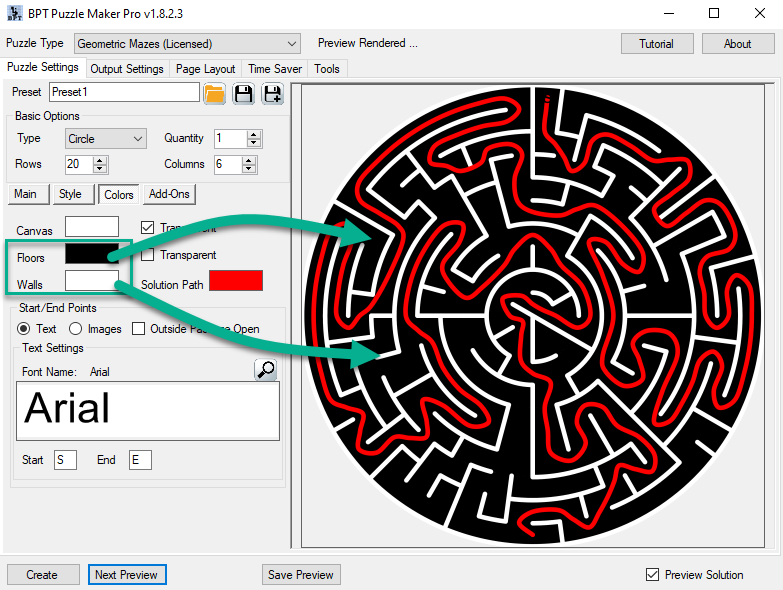
Walls and Solution Path
The colors for the Walls and the Solution Path can also be set to any color. Depending on the colors you use, you may need to adjust the Wall Thickness or Solution Line Thickness on the Style tab.
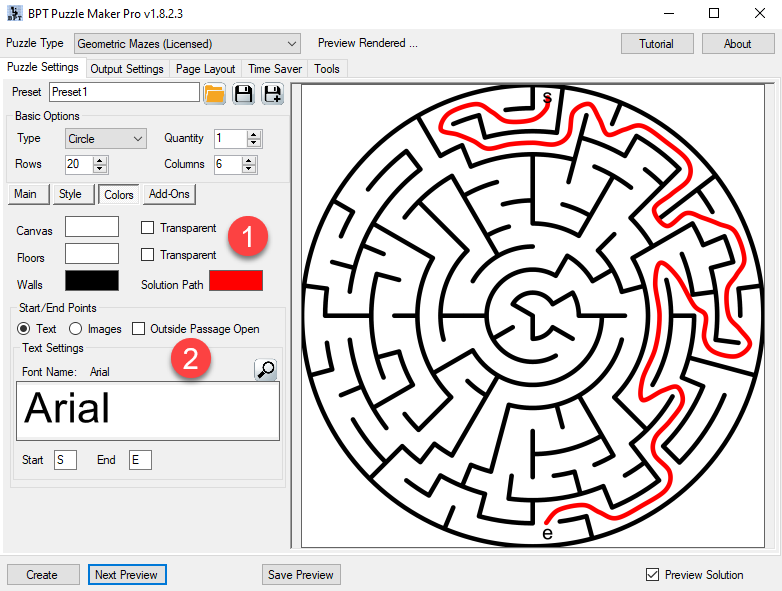
Start / End Point Settings
In Puzzle Maker Pro - Geometric Mazes you can fully customize the Start and End point indicators. By default these will be printed as Text ("S" for Start, "E" for End) in black, using the Arial Font style. You can change the font by clicking the font preview panel (which shows "Arial" in the screenshot below, or by clicking the small looking glass on top of the panel).
Outside Passage Open

You can set the "Outside Passage Open" to enable make it possible to actually enter and leave the maze.
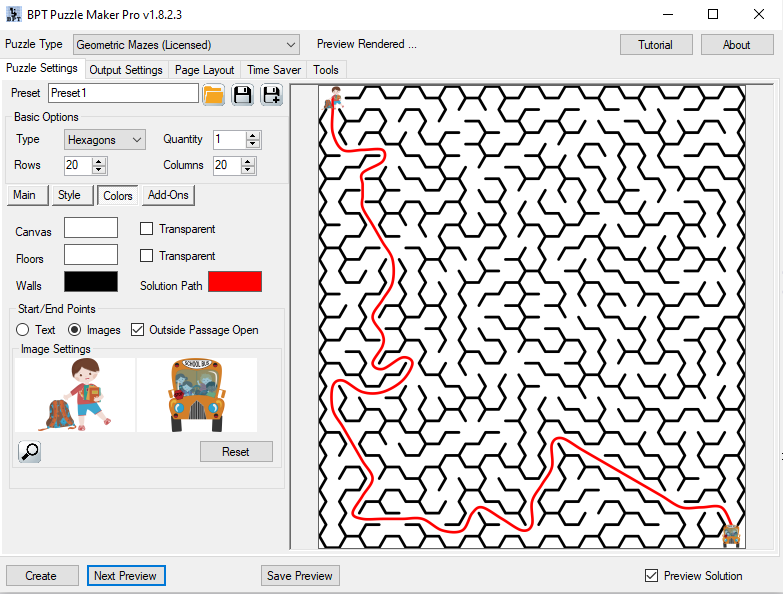
Using Images
You can also use images instead of text, to indicate the Start and End points for the maze.
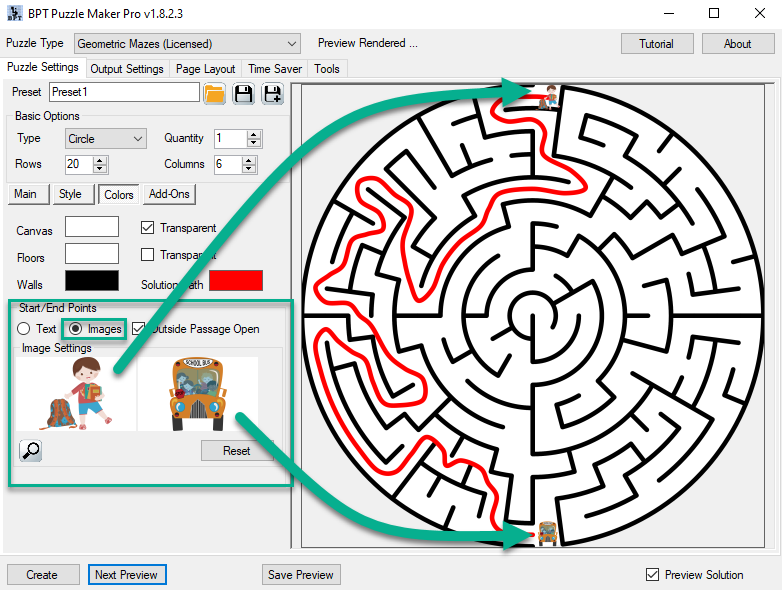
First click the option "Images". This will display the two white panels where you can select the images you want to use. You can either click each panel and select an image (on your computer), or drag and drop an image onto the panel. (You can also drag and drop two images at once, dropping them on the left panel).
You can use images for any shape type, here's an example of a hexagons maze with the same images: