How to add Connections to your design in Geometric String Art Designer
Connections
This tutorial will show you how to add connections (the strings/wires) between shapes in Geometric String Art Designer
Introduction
Please check the Glossary of Shapes and Segments to learn more about the use of 'Segments' in Geometric String Art Designer.
A "Connection" connects two different segments, and will draw the strings between both segments.

In the example you can see a connection between Square (1) Left and Square (1) Top. "Left" and "Top" are two segments of Square (1). You can choose to rename the shapes; otherwise the "(1)" helps to identify the shape if you have multiple squares in your design.
The number of strings between both wires, depend on the 'Pin' settings for both segments.
Add a Connection
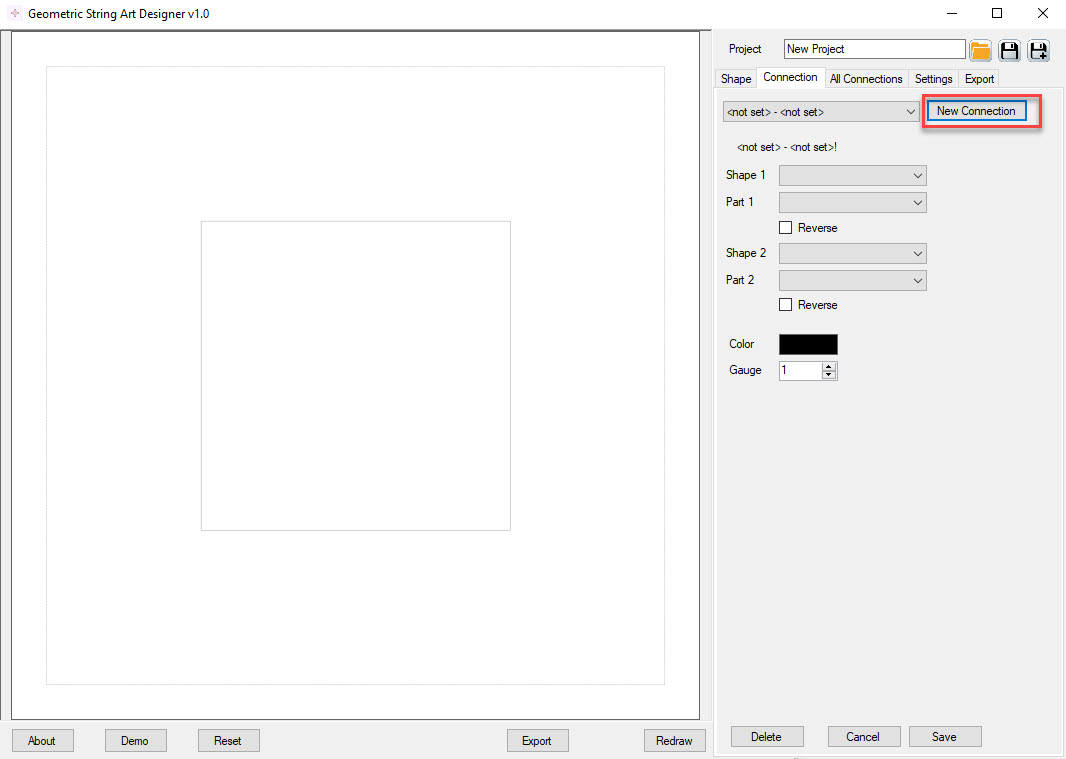
To edit a connection, go to the "Connection" tab and click the "New Connection" button.

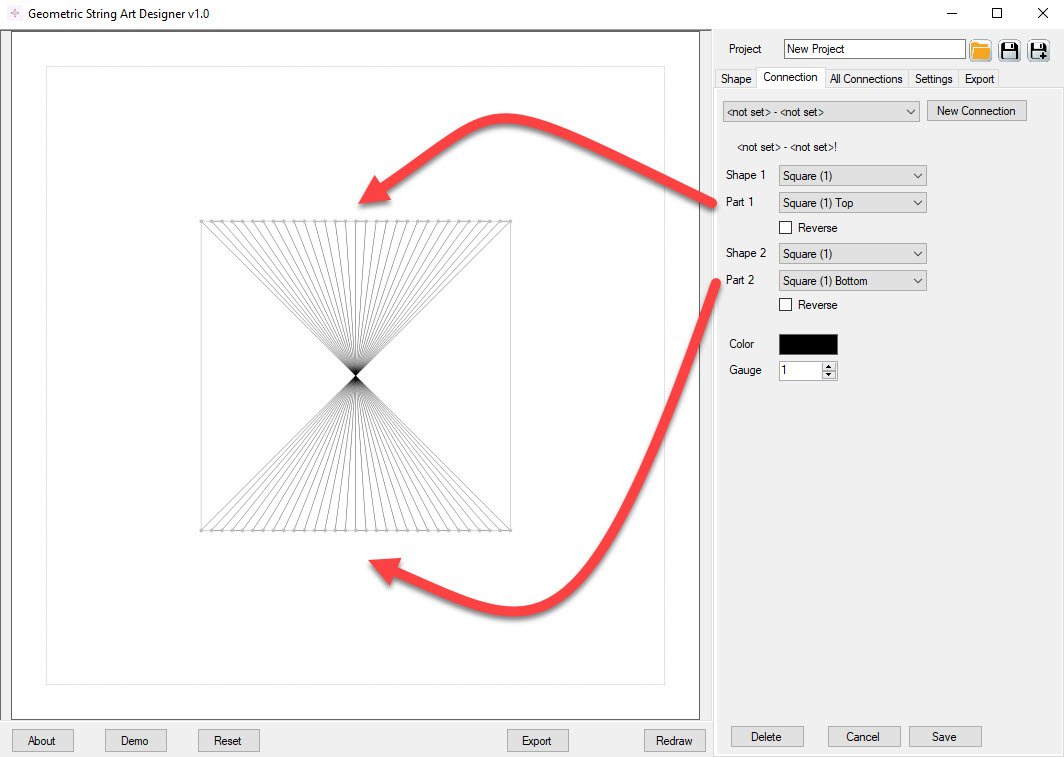
This will open the edit panel just below the button, where you can select the shapes and segments that need to be connected. First select a shape in the dropdown menu "Shape 1", then you can select a segment for shape 1. Repeat for Shape 2.

If the pins of the segments are connected in the wrong order, select "Reverse" to reverse the order of the pins.
Edit a Connection
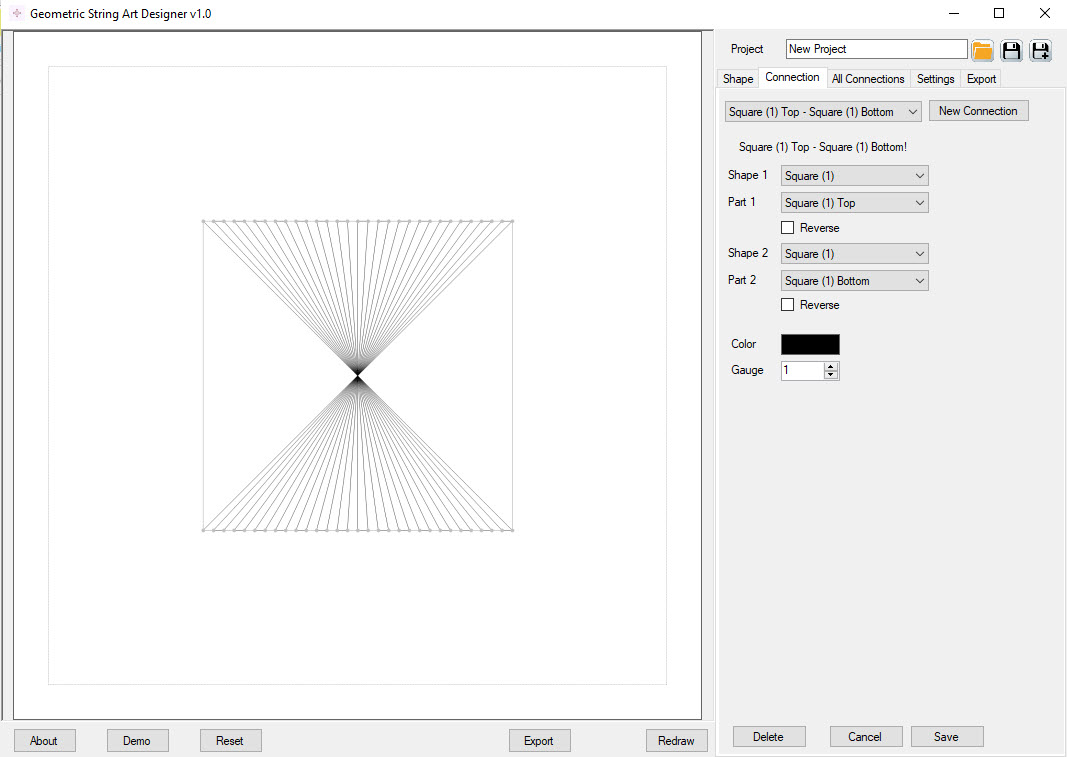
To Edit a connection, select the connection in the dropdown menu at the left of the New Connection button. The name for each connection is made up from the names of the shapes and the segments.

You can change the shapes, or just the segments, or only the color and/or gauge. Click "Save" to save the changed color and gauge. (The other options will be saved right away).
Edit Multiple Connections
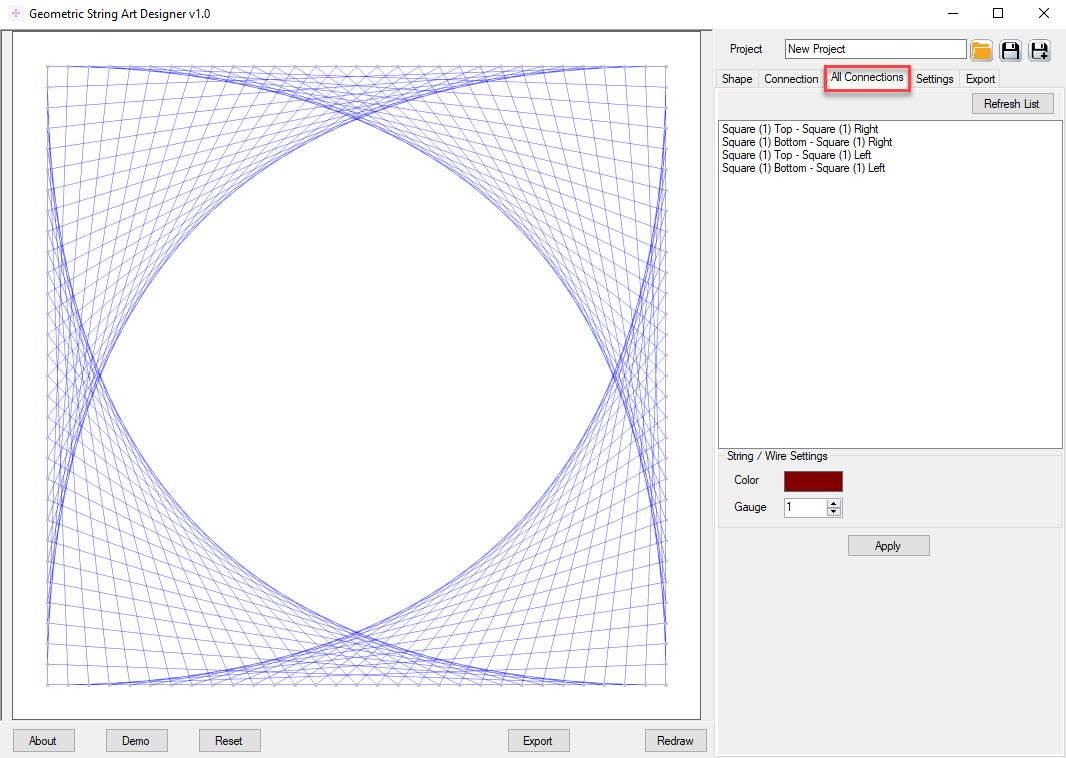
You can edit the color and gauge for multiple connections at once, making it easy for you to make sure the same settings are applied to different connections.

Open the "All Connections" tab, and you'll see a list of all connections in your current design. You can use the "Refresh List" button if not all connections are shown.
Now select one or more connections in the list, select a new color and/or gauge, and click Apply.