How to use Puzzle Maker Pro - Mazes 2D Oblique
How to use Puzzle Maker Pro - Mazes 2D Oblique
This tutorial applies to Puzzle Maker Pro - Mazes 2D Oblique.
The tutorial "How to use Mazes 2D Squares" describes how to use the generic options for Mazes 2D.
In this tutorial we'll explain the specific 'obliqueness' features.
Mazes 2D Oblique
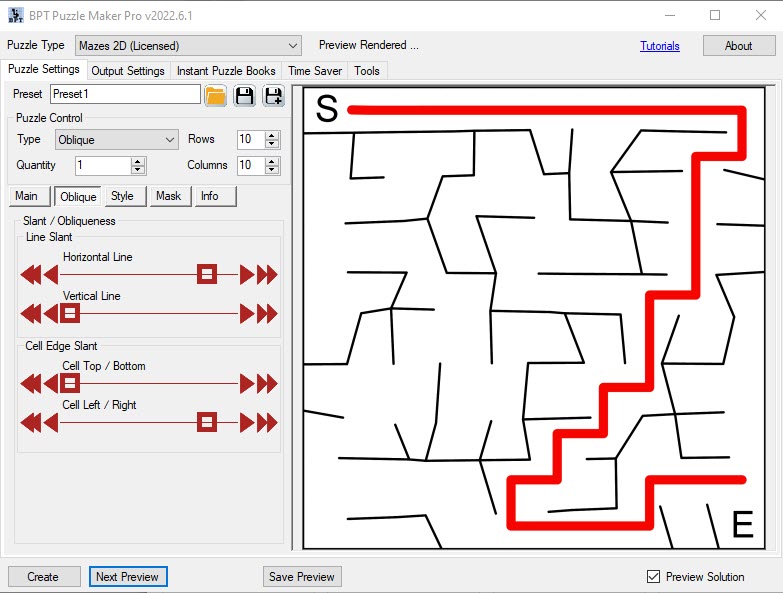
The Oblique pattern was inspired by the Japanese artist Yayoi Kusama, specifically her illustrations for Alice's Adventures in Wonderland (which is definitely recommended). In Mazes 2D Oblique you can control in detail the limits to which the lines are oblique (slanted), on the Oblique tab.

The slant for each line segment (each edge of a 'square') is determine by two settings:
- Line Slant: the maximum slant for the line (either horizontally or vertically), and
- Cell Edge Slant: the maximum slant for the cell edges
The values determine a percentage of the row height and column width. If you set it to maximum value (which actually is 30-40%), a row height (or column width) may be increased by up to that value. A row that would be 200 pixels high, may be approx 280 pixels high.
The Line Slant and Cell Edge Slant are randomized and added together for each cell segment. There's a maximum of 40% increase or decrease, to make sure that the cells are still large enough to create a maze.
The most extreme (highest / lowest) points of a line are randomly chosen along the line, but the sides are always at the set cell height or width.
This may sound complex, it's best to play with the sliders and previews yourself, and then read this again, if you need more information.