How to use the Styling options for Puzzle Maker Pro - Mazes 2D
How to use the Styling options for Puzzle Maker Pro - Mazes 2D
This tutorial applies to:
- Puzzle Maker Pro - Mazes 2D Squares
- Puzzle Maker Pro - Mazes 2D Oblique
- Puzzle Maker Pro - Mazes 2D Other Shapes
There are five different sections for styling, which are combined on 3 tabs, that can be found on the Style tab
- Passage / Door Styling (Line Style tab)
- Wall / Border Styling (Line Style tab)
- Colors (Colors tab)
- Solution Path Styling (Colors tab)
- Start/End Settings (Start/End tab)
Line Style tab
Passages / Doors
The Passage / Doors settings control how large the openings between the different squares, circles or other shapes are. The maximum is 100% (completely open).
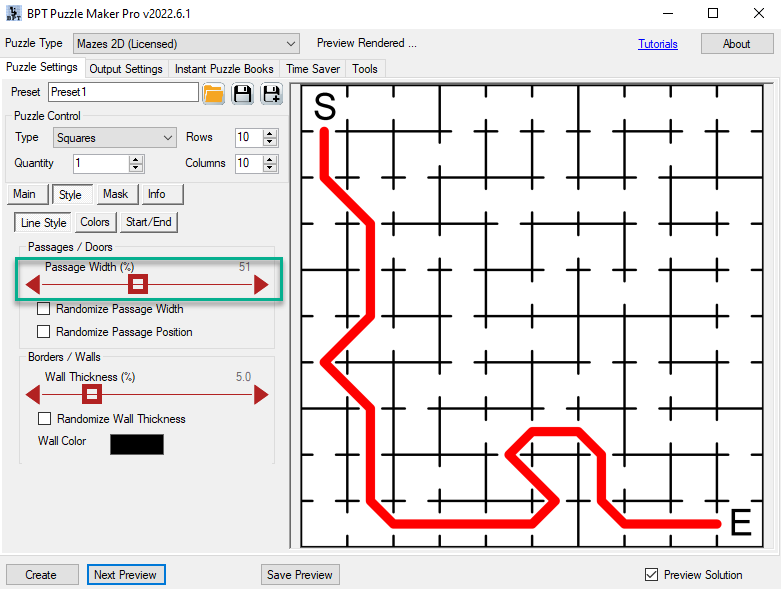
As you can see in the screenshot, changing the passages setting will create a different 'atmosphere' for the maze.
In addition to the Passage Width setting, you can also randomize the Passage Width and/or the Passage Position, resulting in a more chaotic looking maze:
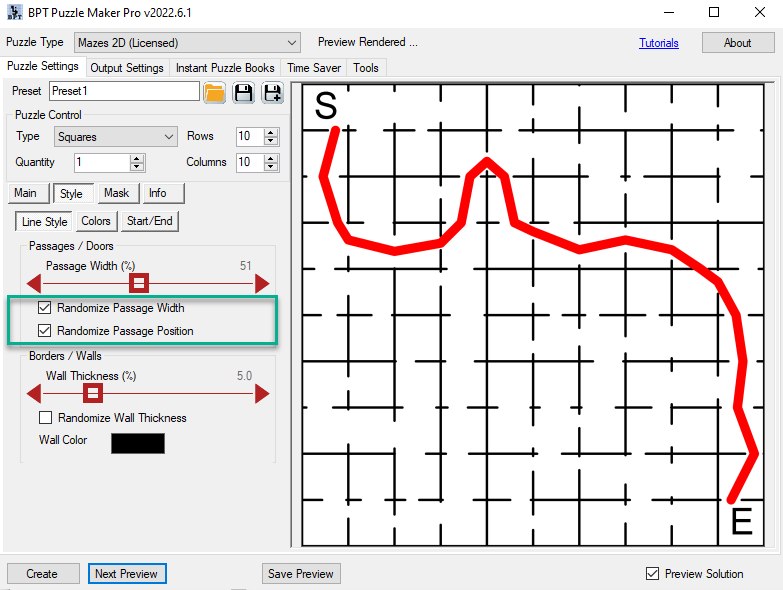
Note: This setting is not used for the Small Circles mazes.
Borders / Walls
The Borders / Walls settings control the width (weight) of the lines between te squares, octagons or other shapes. The current maximum is 20% (of the square width).
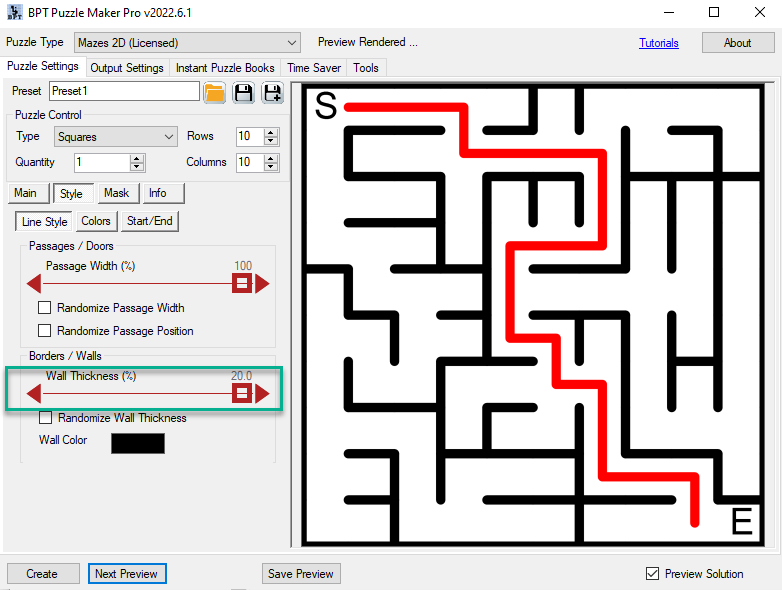
As you can see in the screenshot, this setting makes the walls much more pronounced.
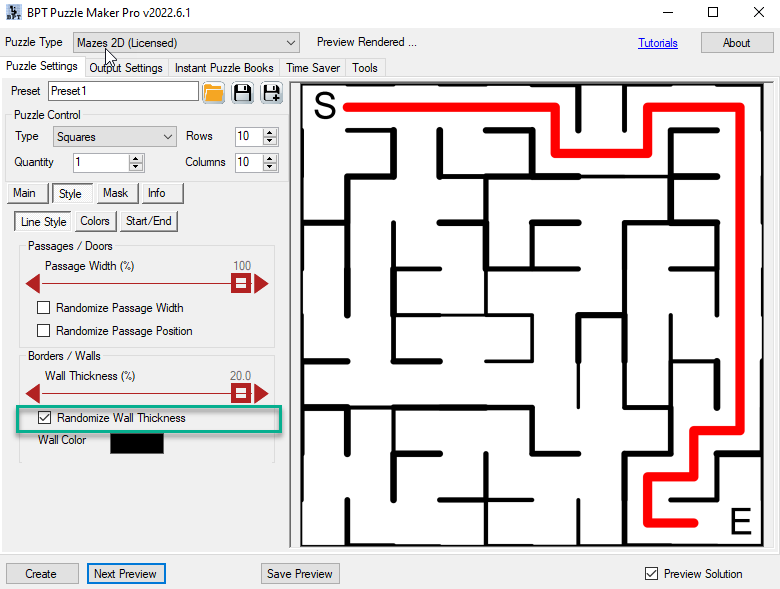
Additionally you can randomize the wall thickness (or width / weight). This will determine a different line width for each cell (square, octagon, circle, etc) and draw all lines around the shape with that line width, resulting in a more hand-drawn, stylish look.
Colors tab
There are five different places to set the colors for Mazes 2D:
- The (Wall) Line color (Line Style tab)
- The Font color for Start and End symbols (Start/End tab)
- The Canvas and Cell 'Floor' color (see below)
- The Solution line color (see below)
Canvas / Background Colors
The canvas and 'Floors' colors are two ways to fill the background of an image with color. The canvas is shown everywhere where there is no cell (square or other shape), the Floor color is shown for every cell.
The example below shows an extreme coloring scheme:

In this example we chose the Easy Octagons shape to illustrate the use of colors. All the purple areas are not covered by octagons, the yellow areas are octagons.
For square or oblique mazes, the canvas color will be shown when you use a mask to define the maze contours, otherwise it will not be visible.
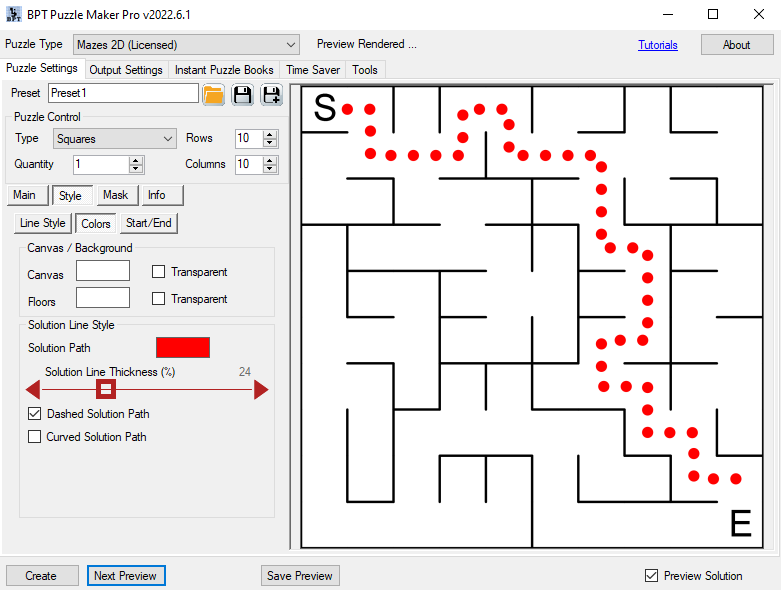
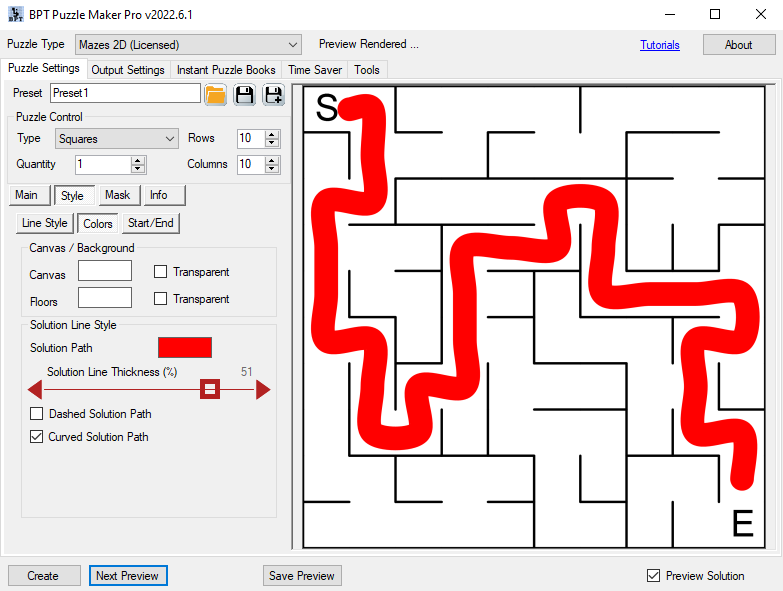
Solution Line Style
You can customize the look and feel of the solution path (which will only be shown in the maze solutions!):
- You can set the color (for puzzle books printed in grayscale you can select a contrasting gray color)
- You can set the width (weight / thickness) of the path, this is a percentage of the cell width
- You can choose a dashed path
- You can choose a curved path (which often looks better for non-square shapes)
Below you can see two examples with the dashed and the curved path.
Start/End tab
There are several options to customize the Start and End points in Mazes 2D:
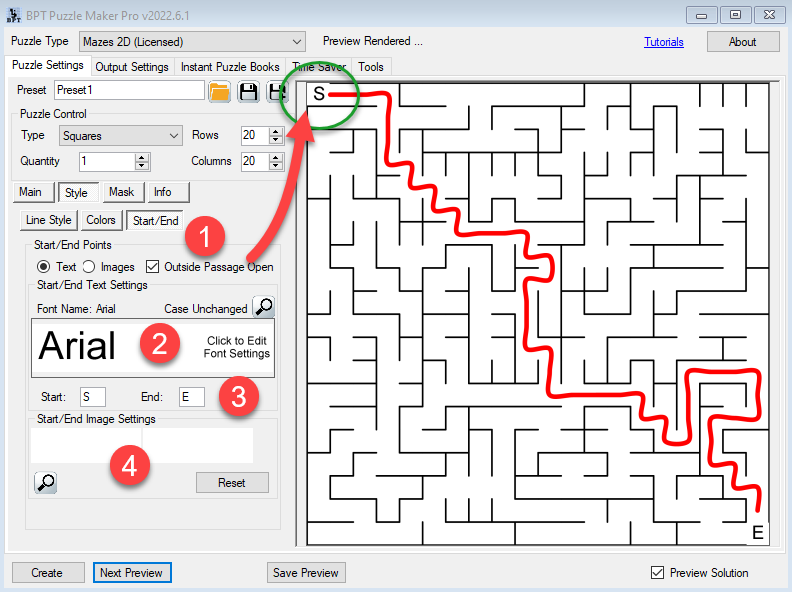
- You can choose to let the outside passage / wall open. This is shown in the green circle, where the left and top edges of the square are left blank
- You can set the font and font color for the Start and End letters - just click the font preview panel that says Arial to change the font and other settings
- You can change the letters to be used
- You can use images instead of letters.
Using images for Start and End
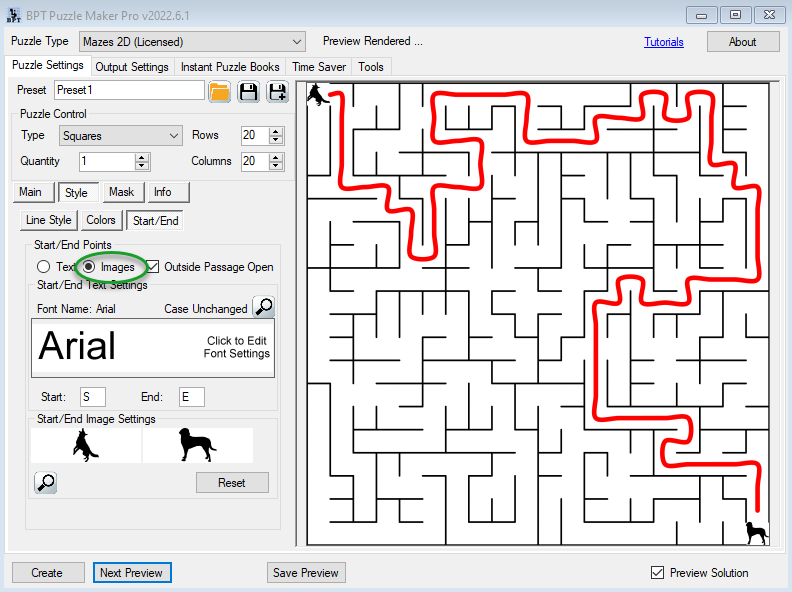
To use images for Start and End, you can drag and drop images on the two white panels (the Start/End Image Settings), or click the panels and select an image). You also have to click the "Images" radio button (the green circle in the screenshot) to tell Puzzle Maker Pro that you actually want to use the selected images.
Further Reading
Puzzle Type Details
- Mazes 2D Oblique
- Mazes 2D Other Shapes (Easy Rectangles and Small Circles)
Add-Ons